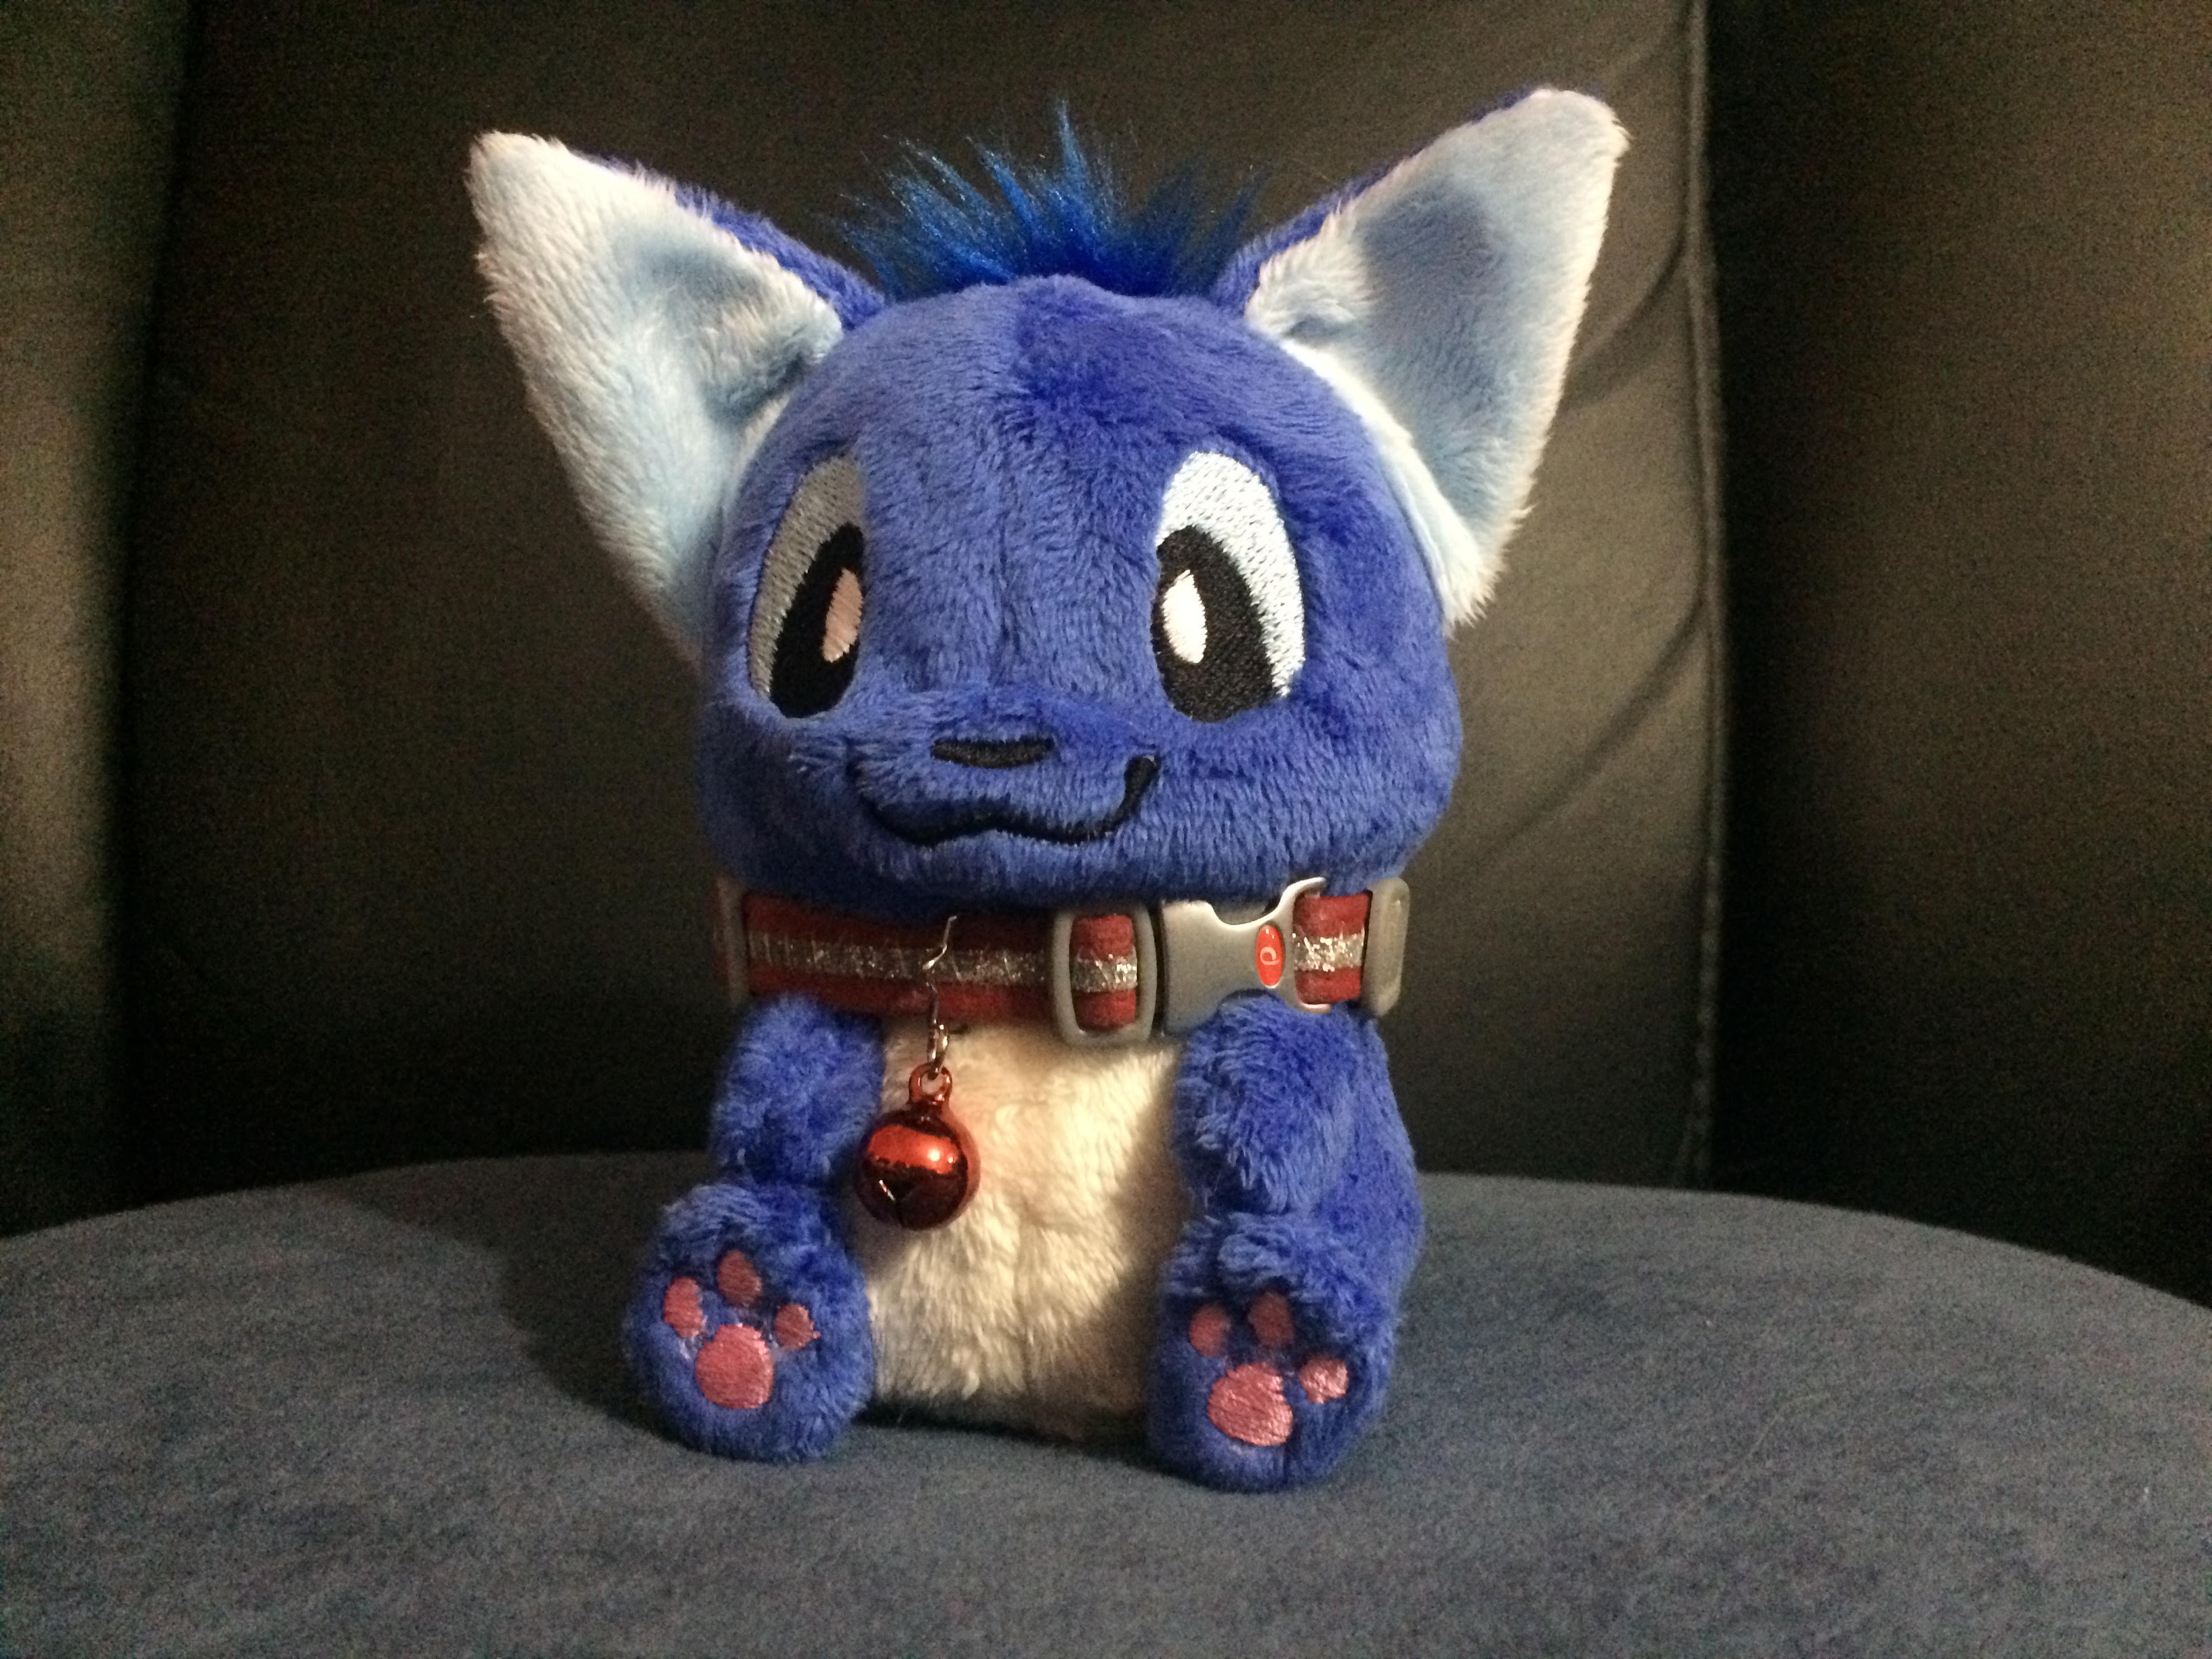
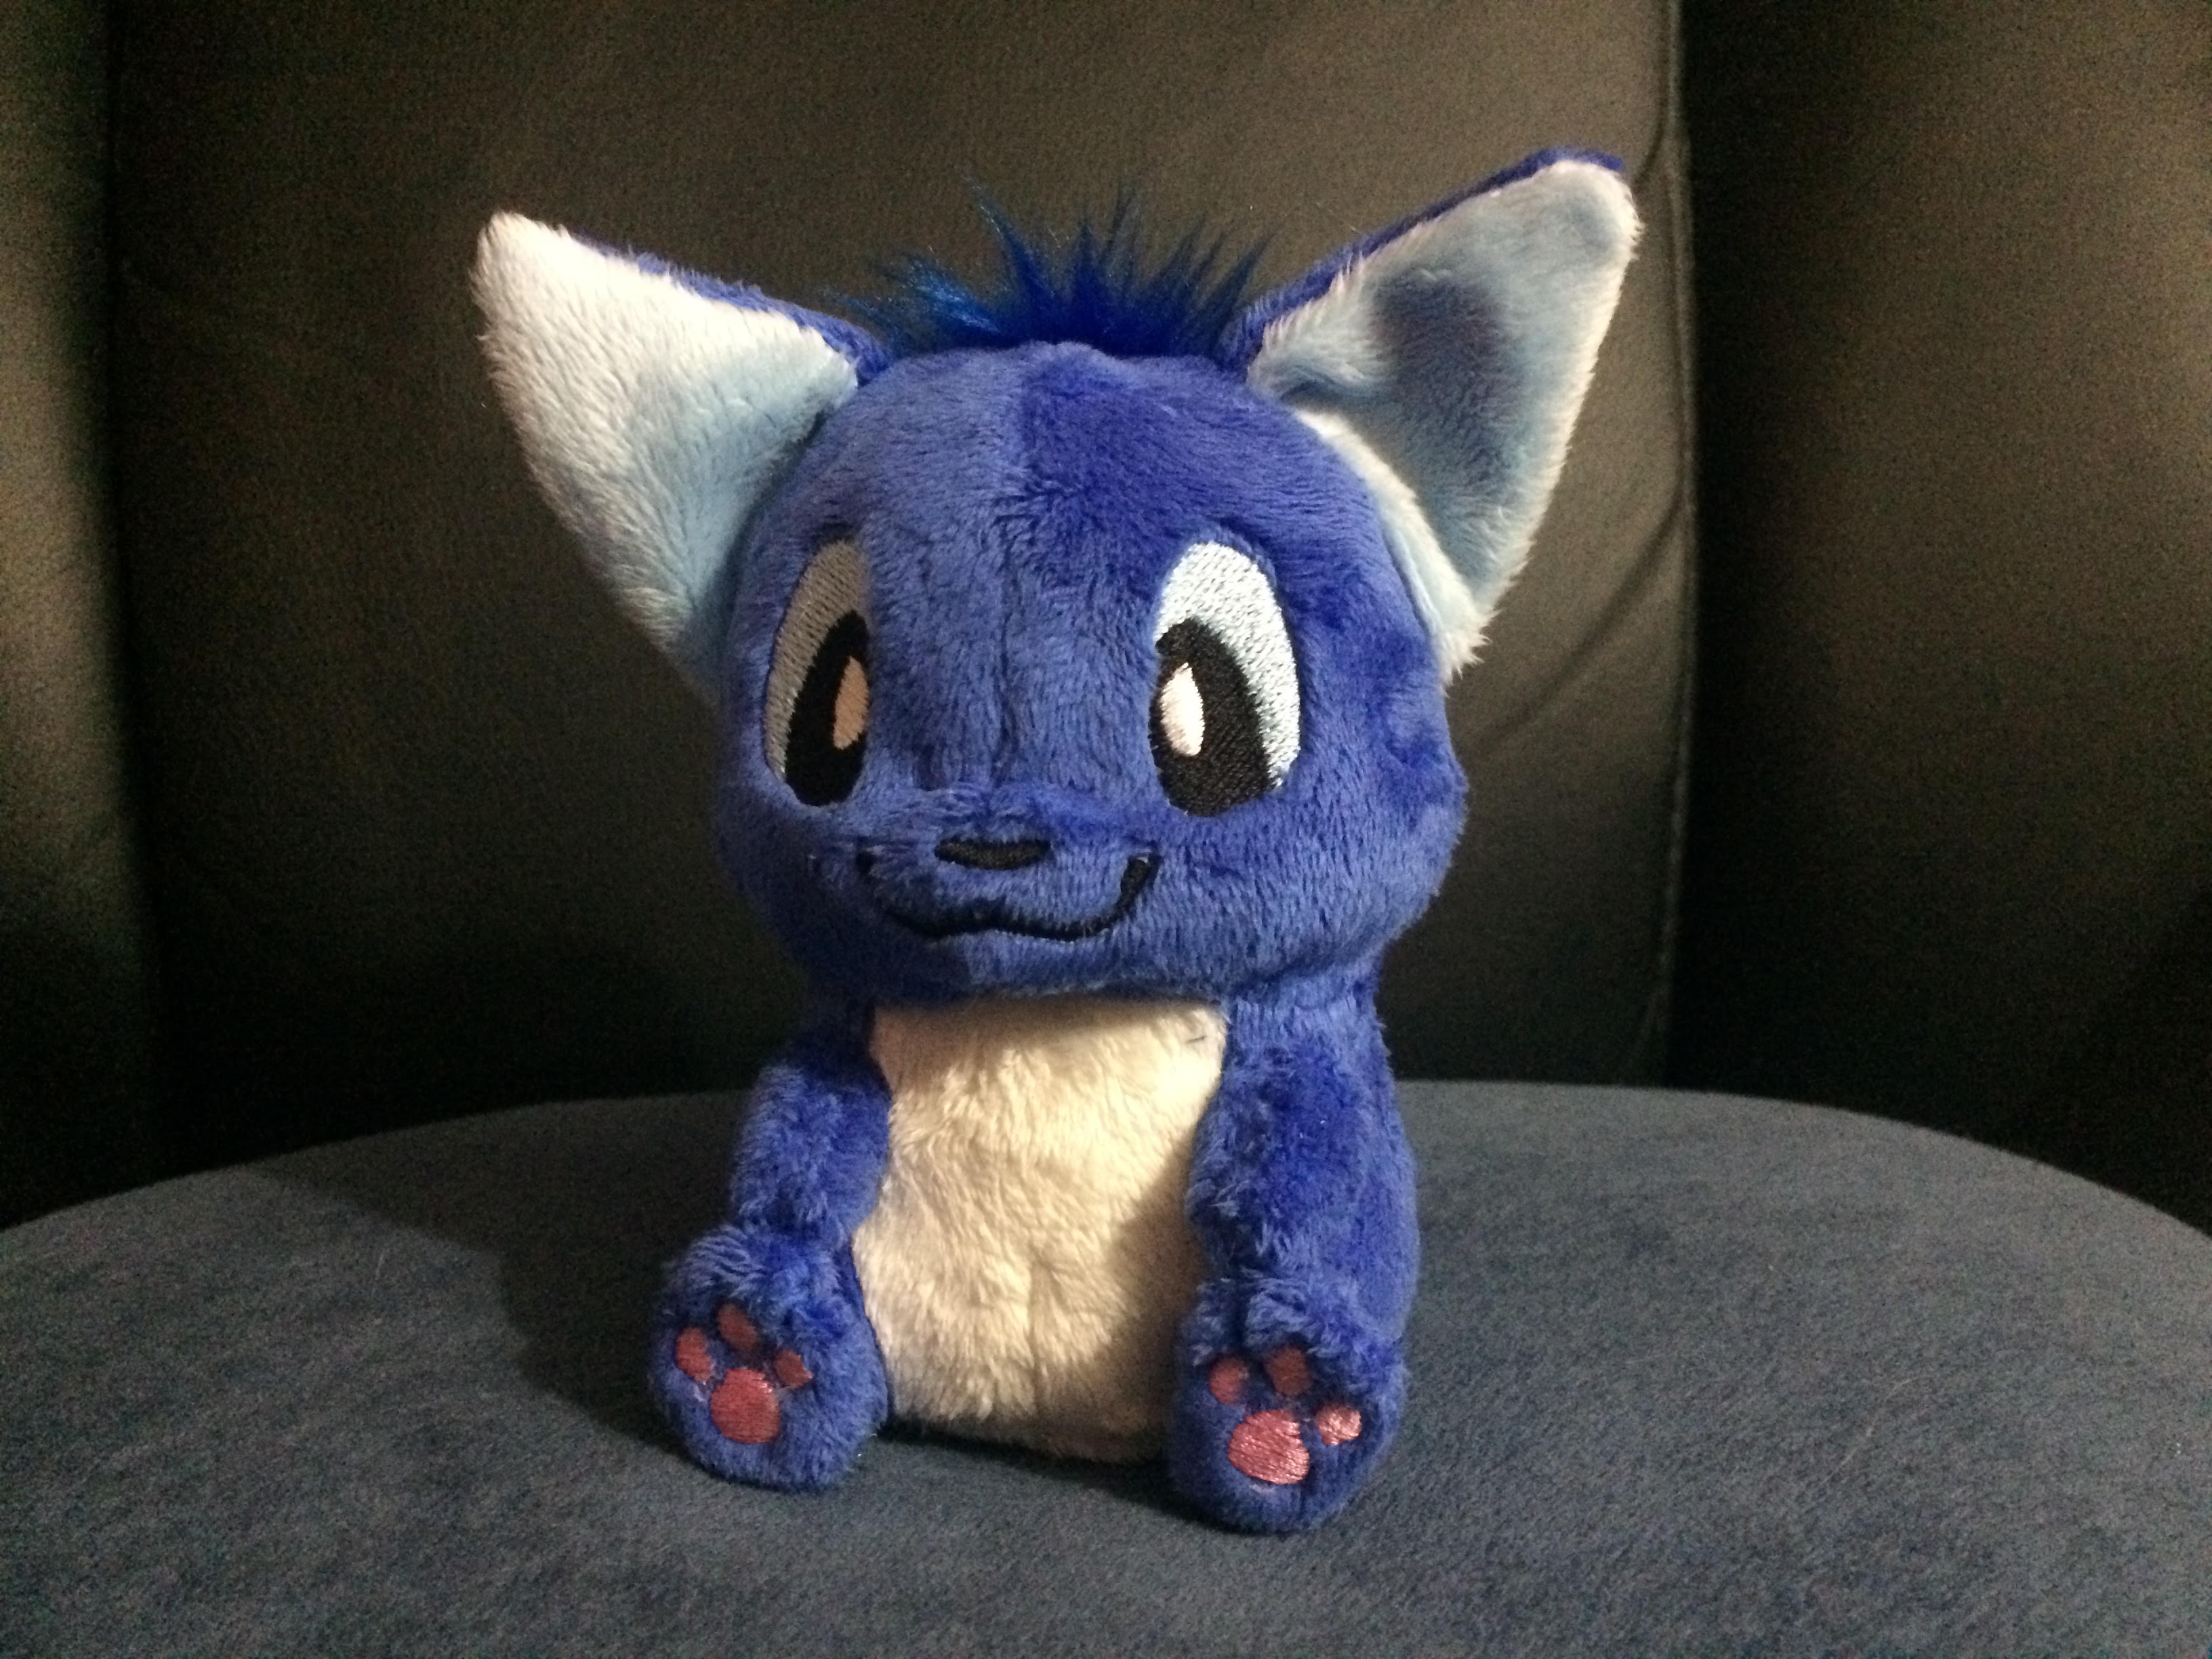
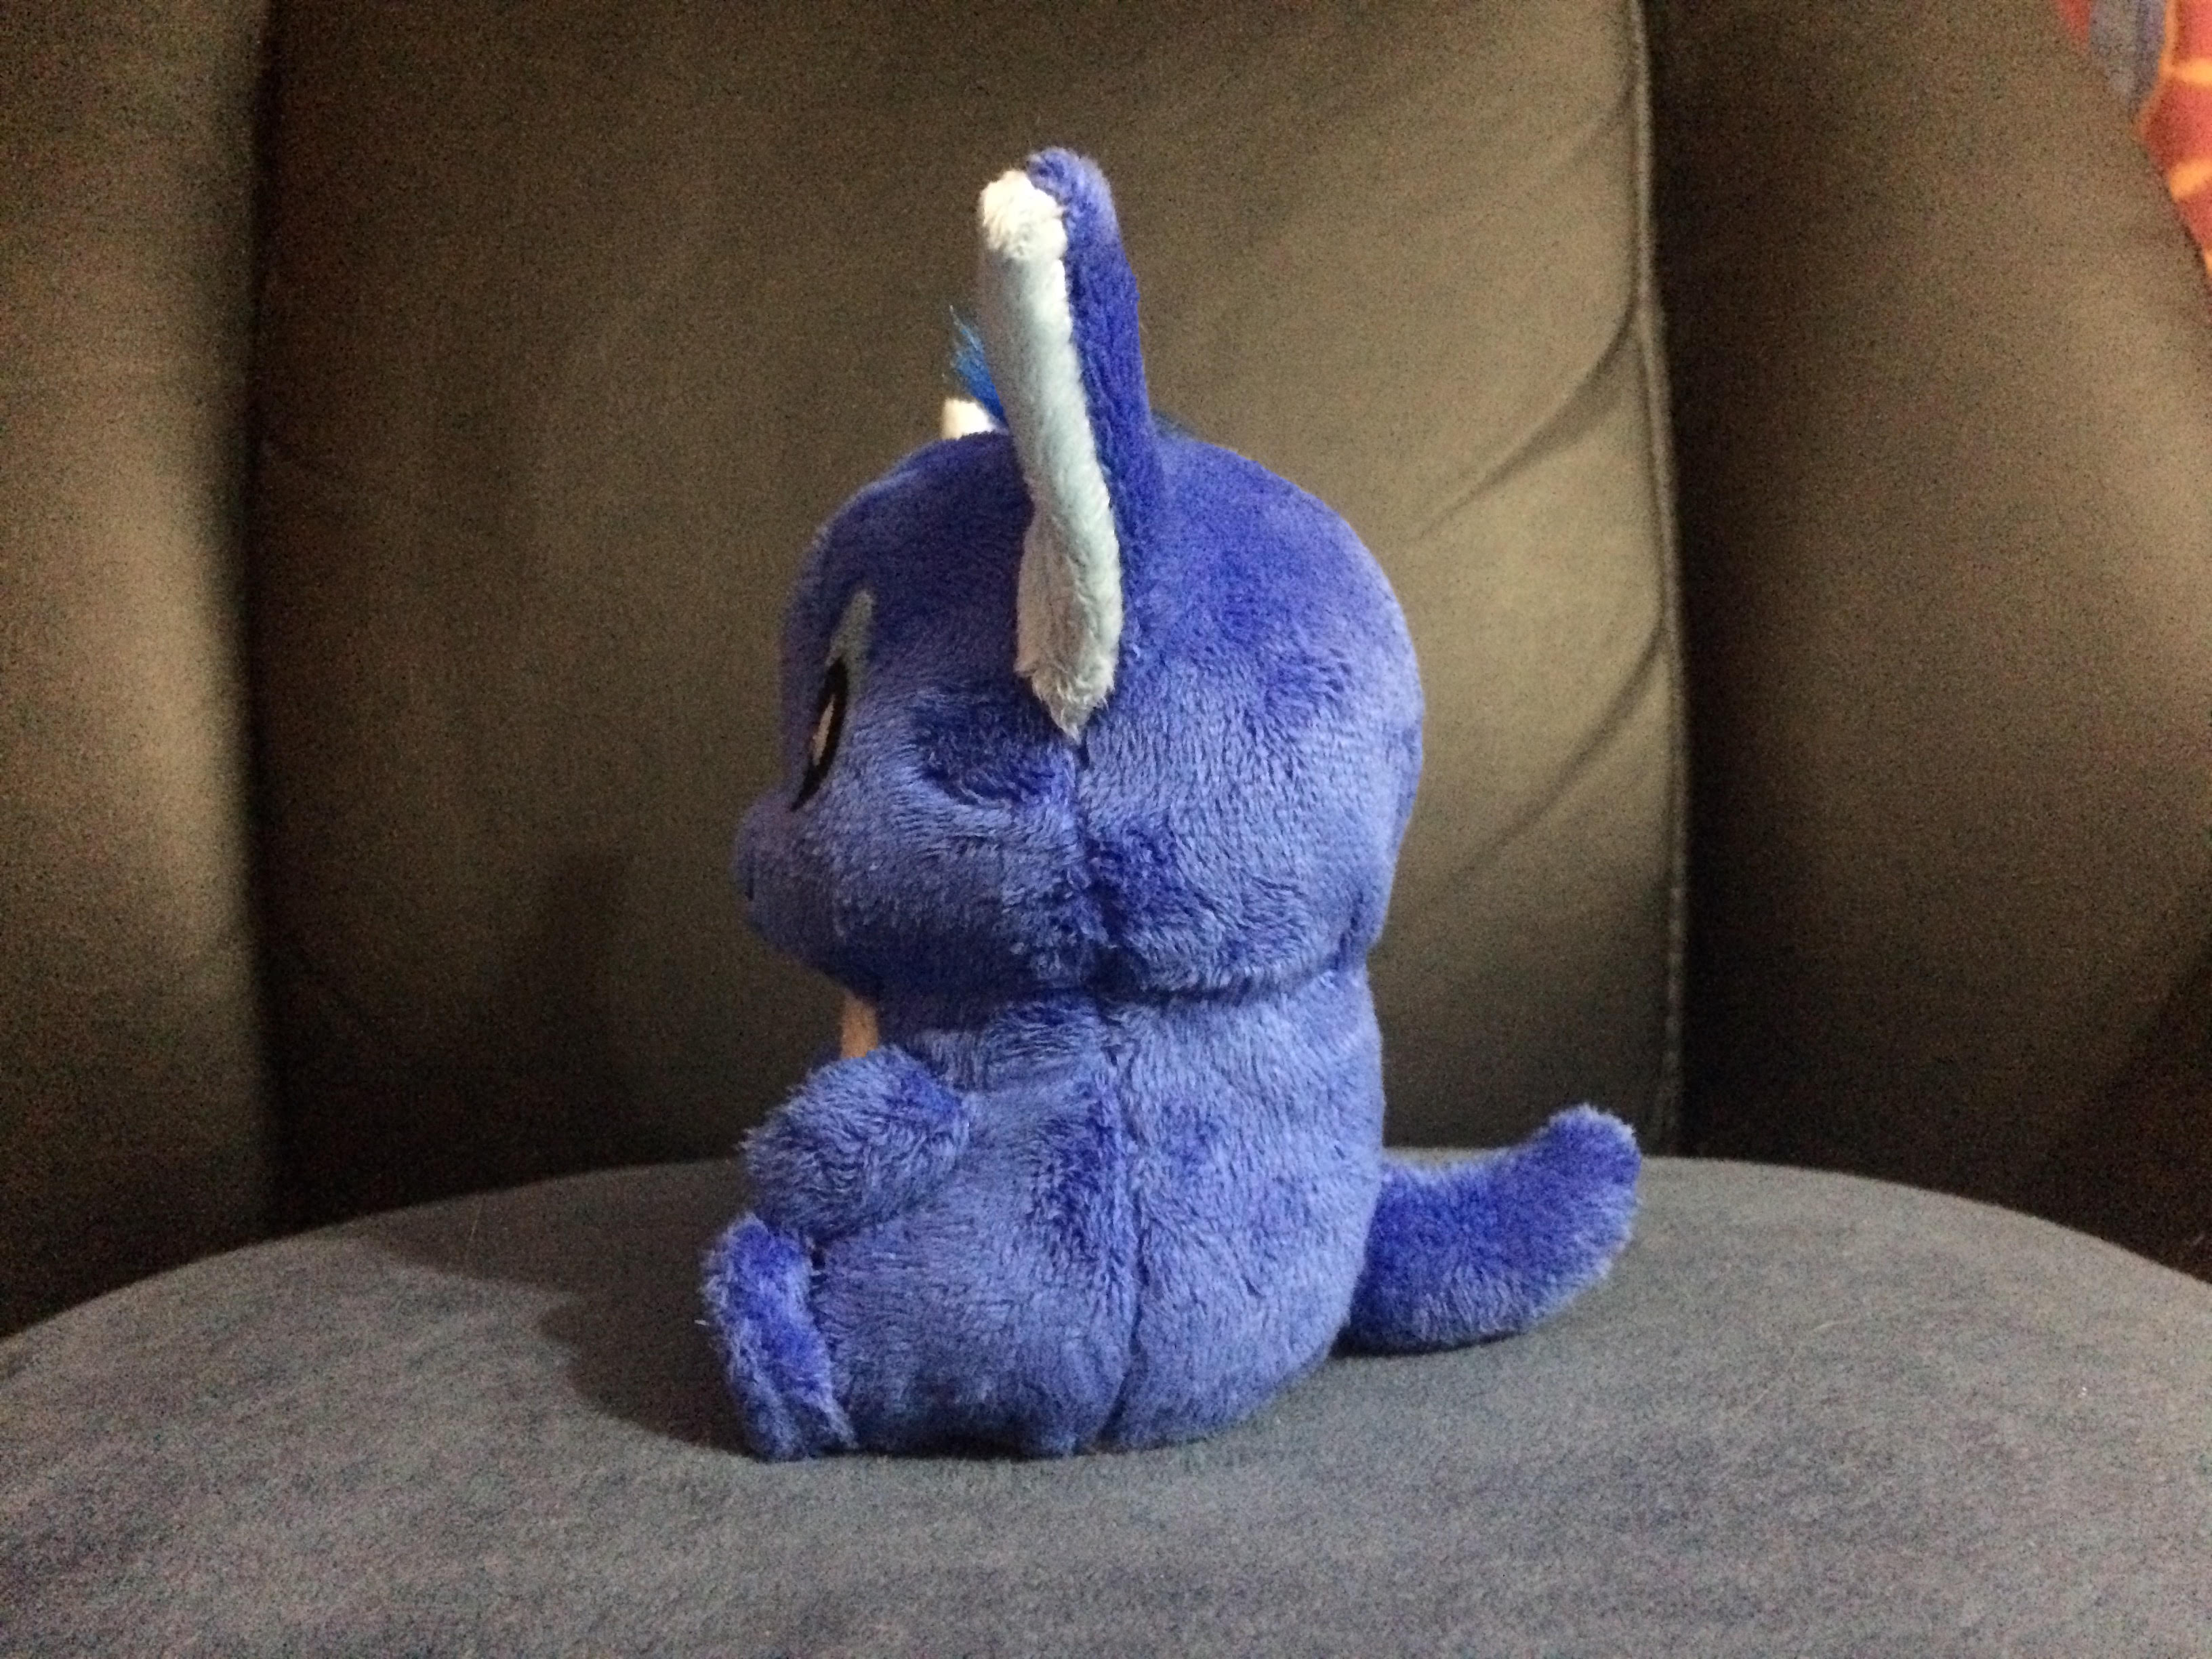
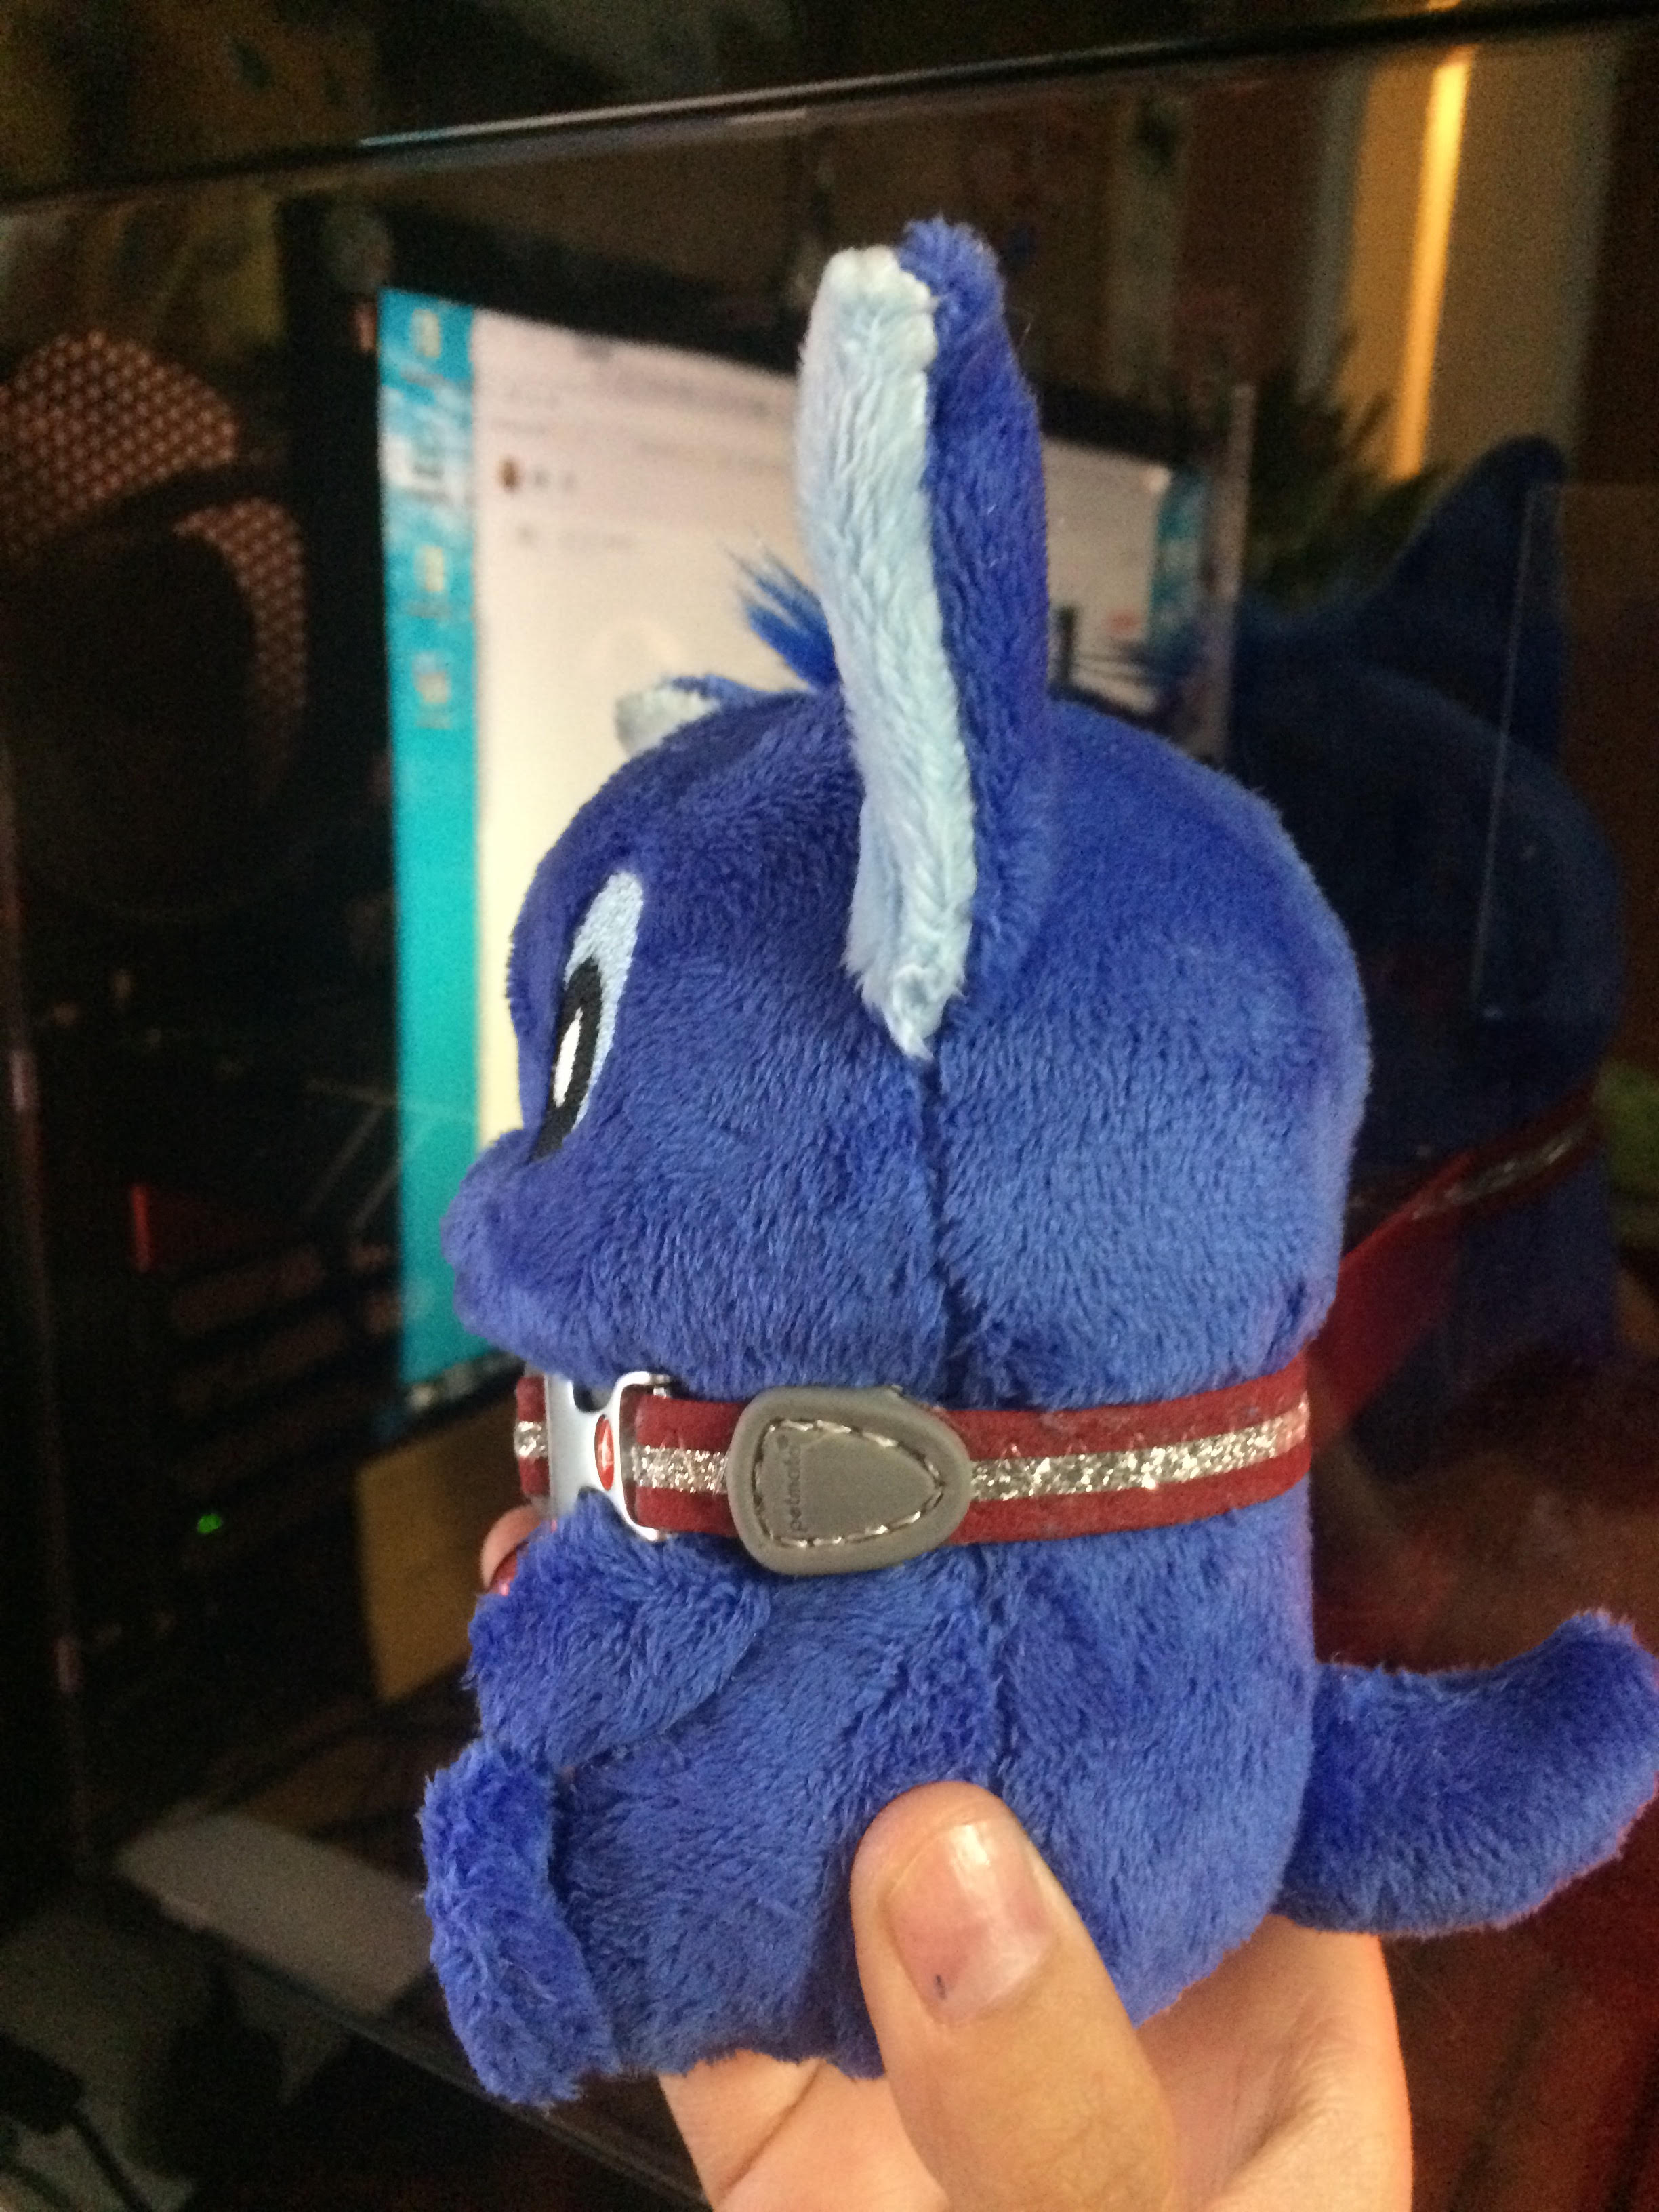
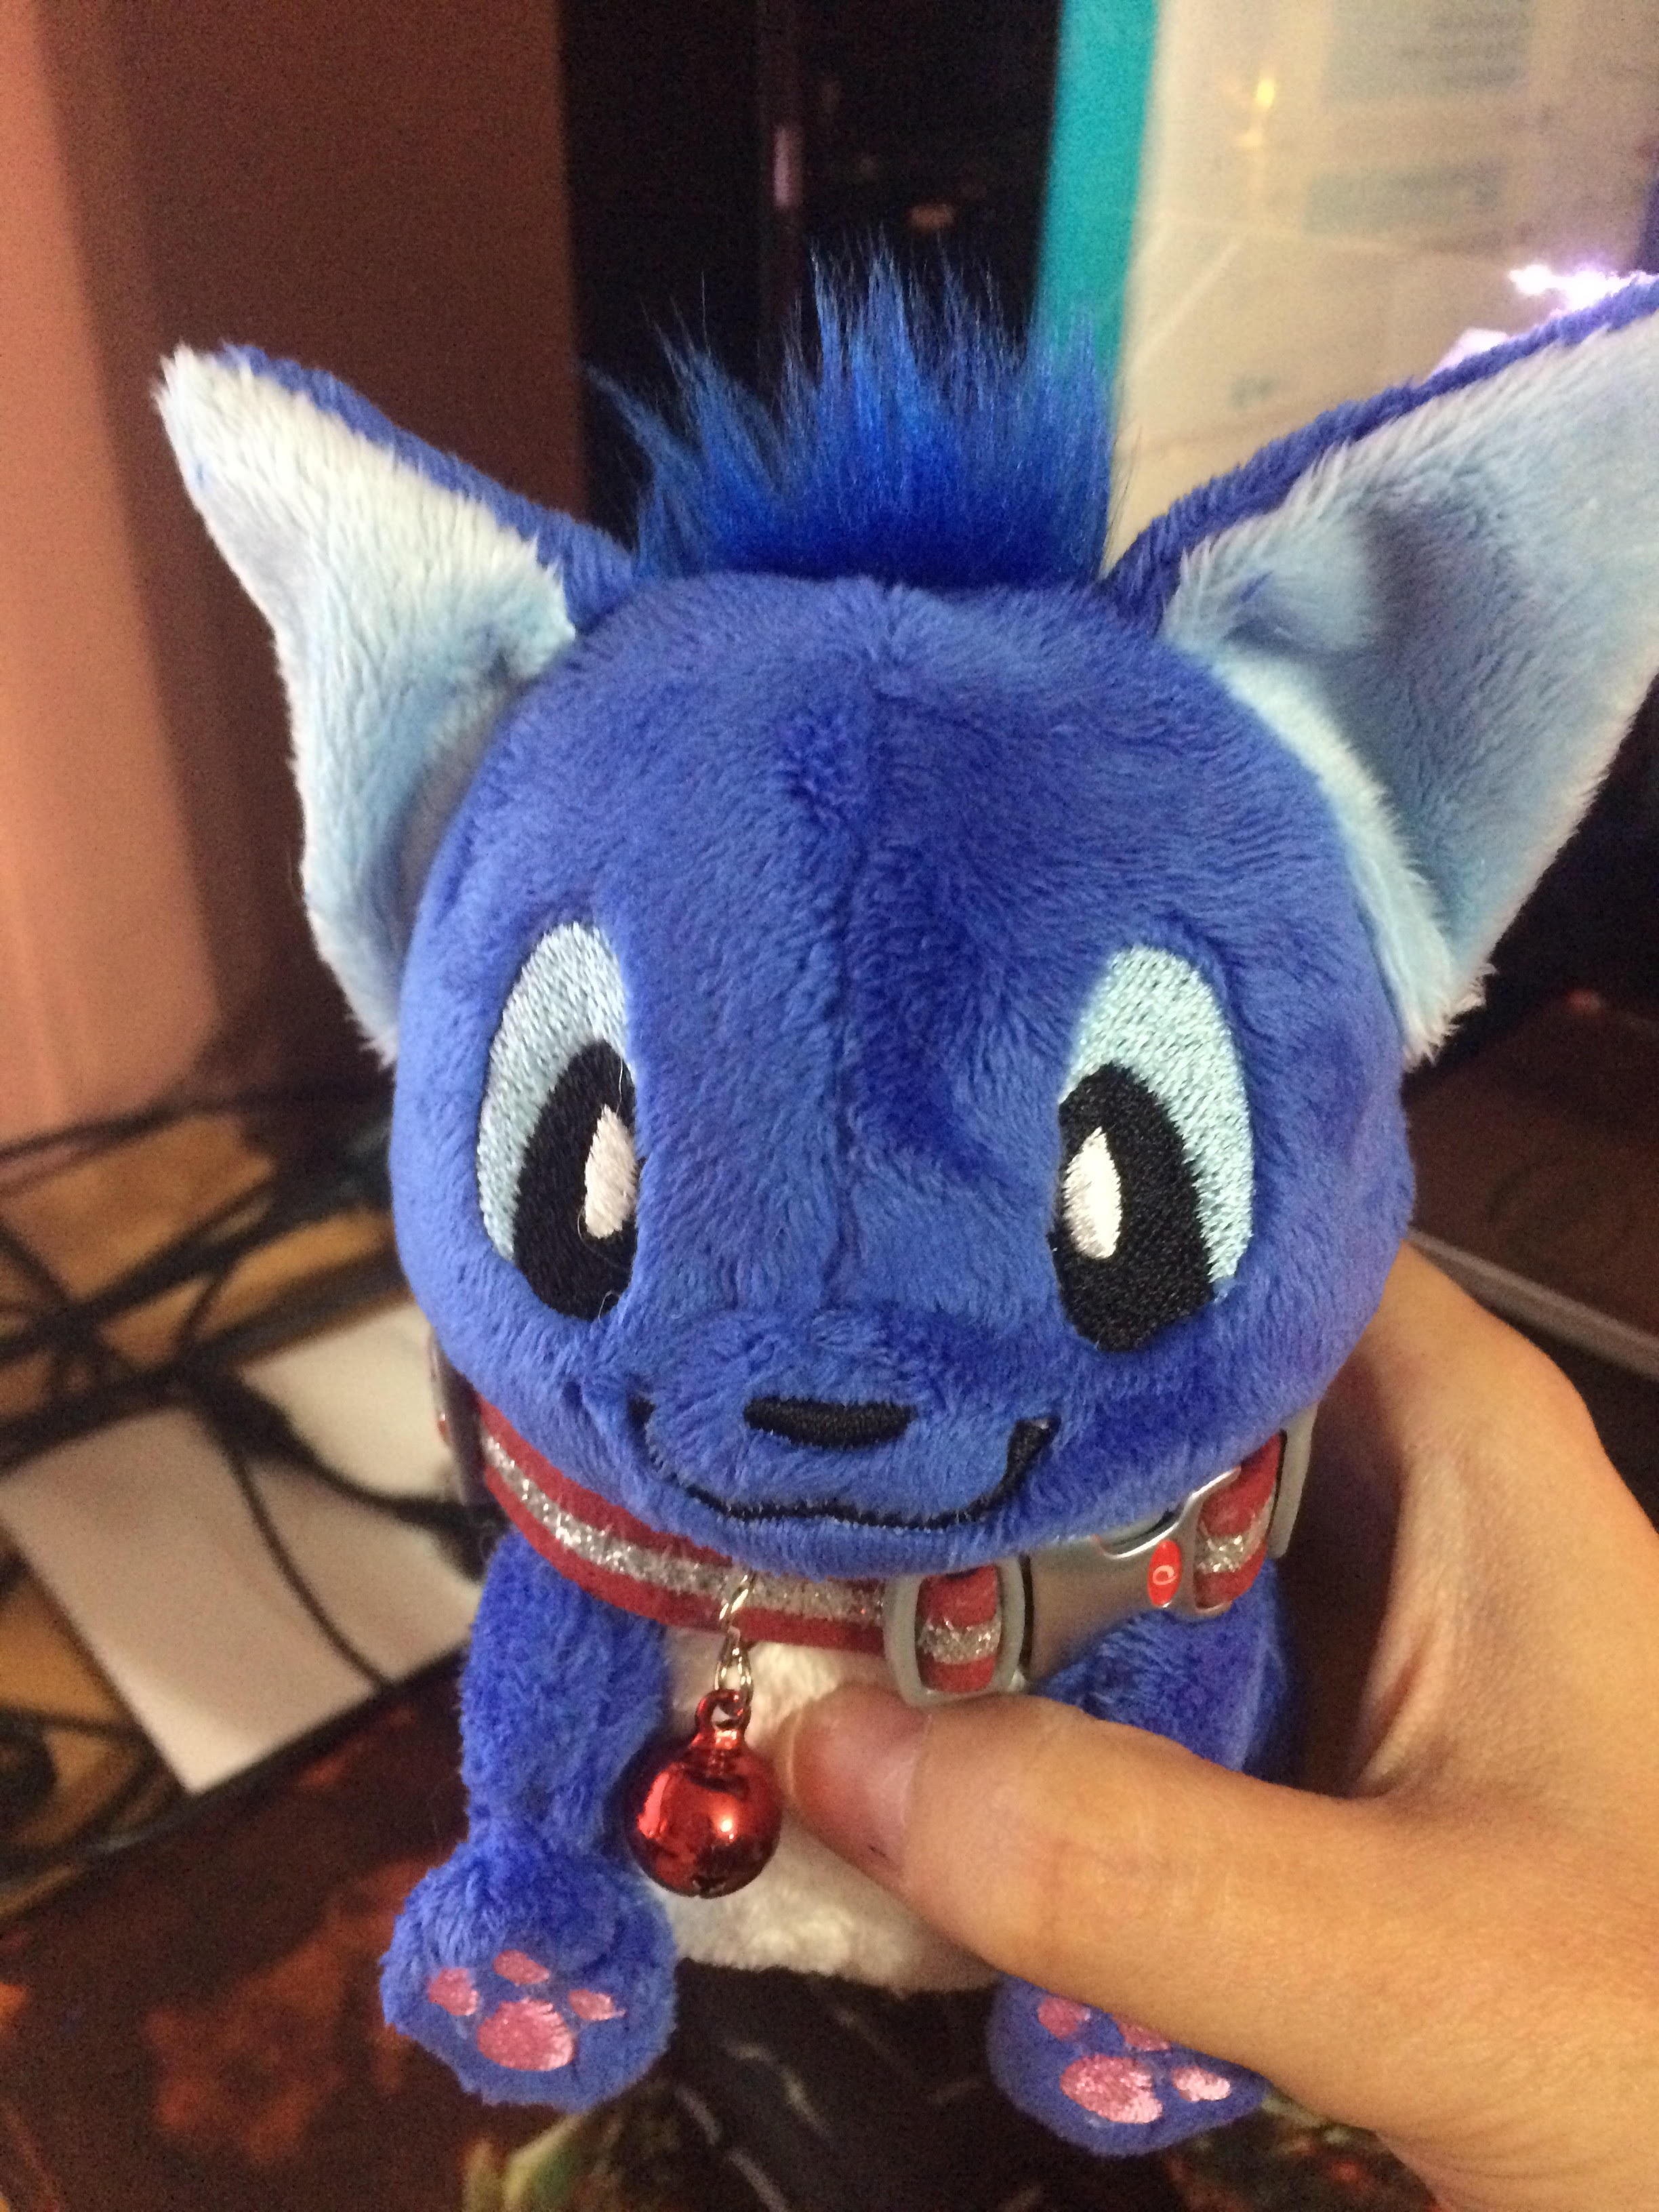
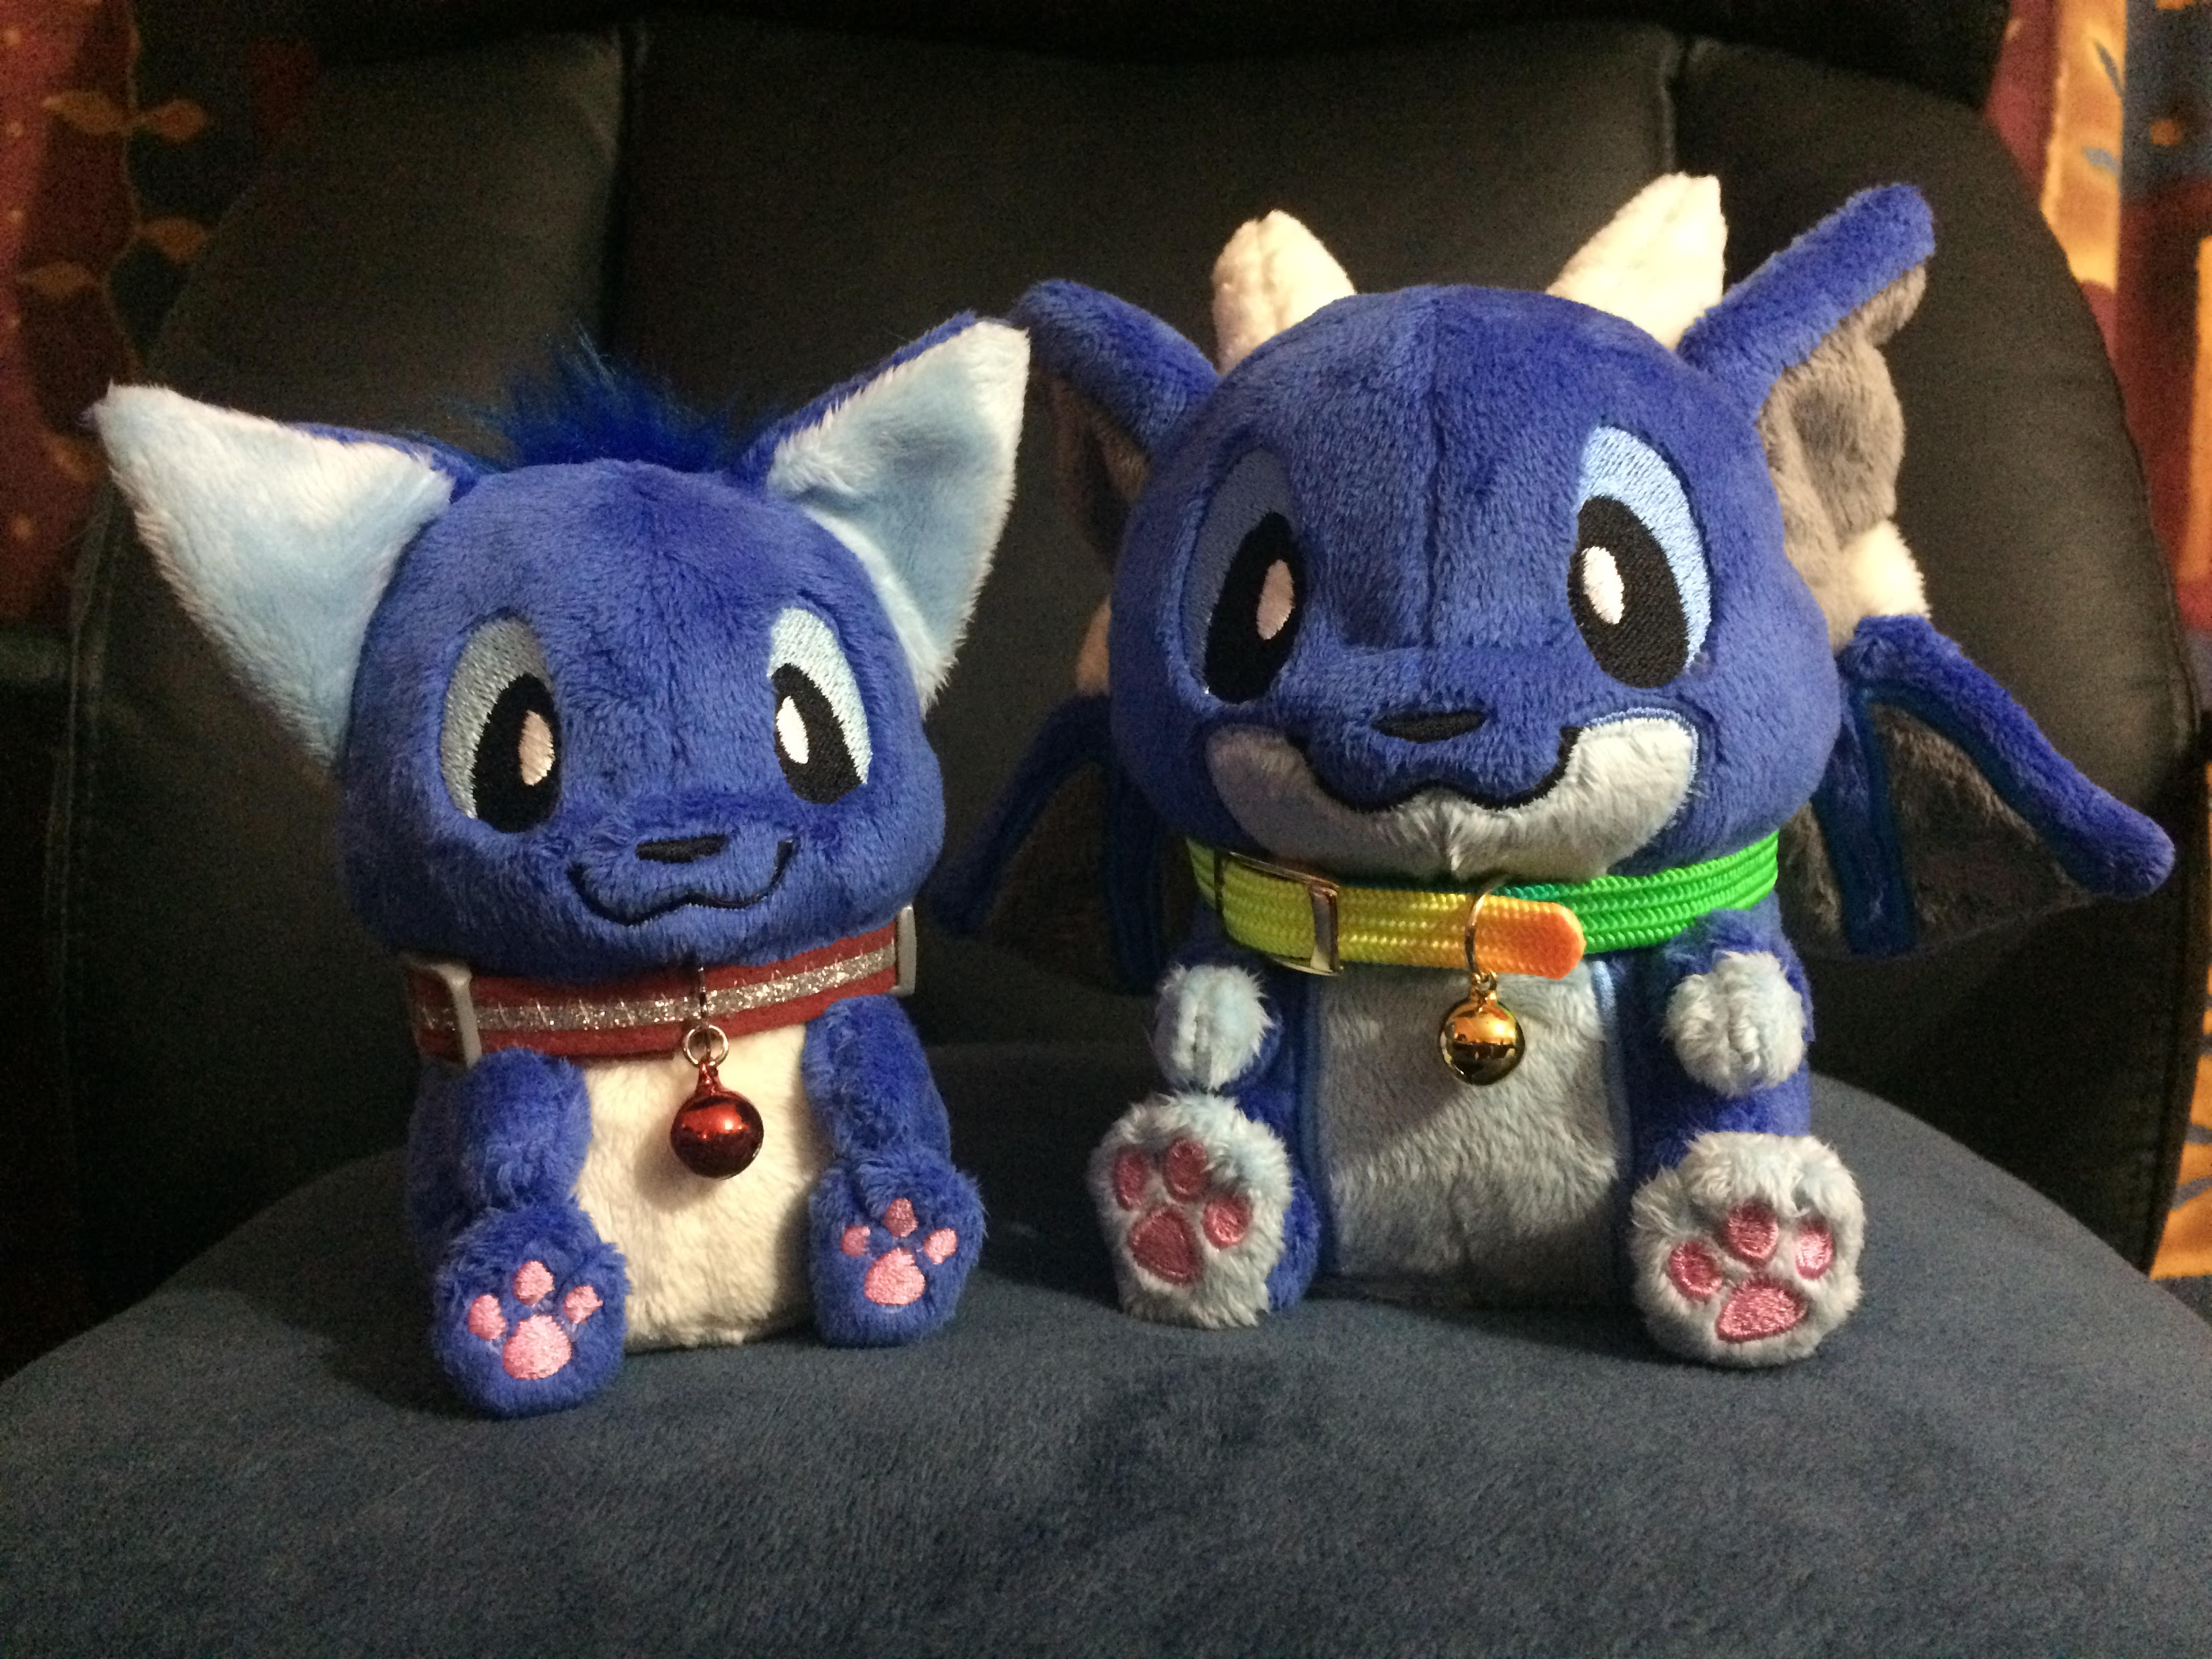
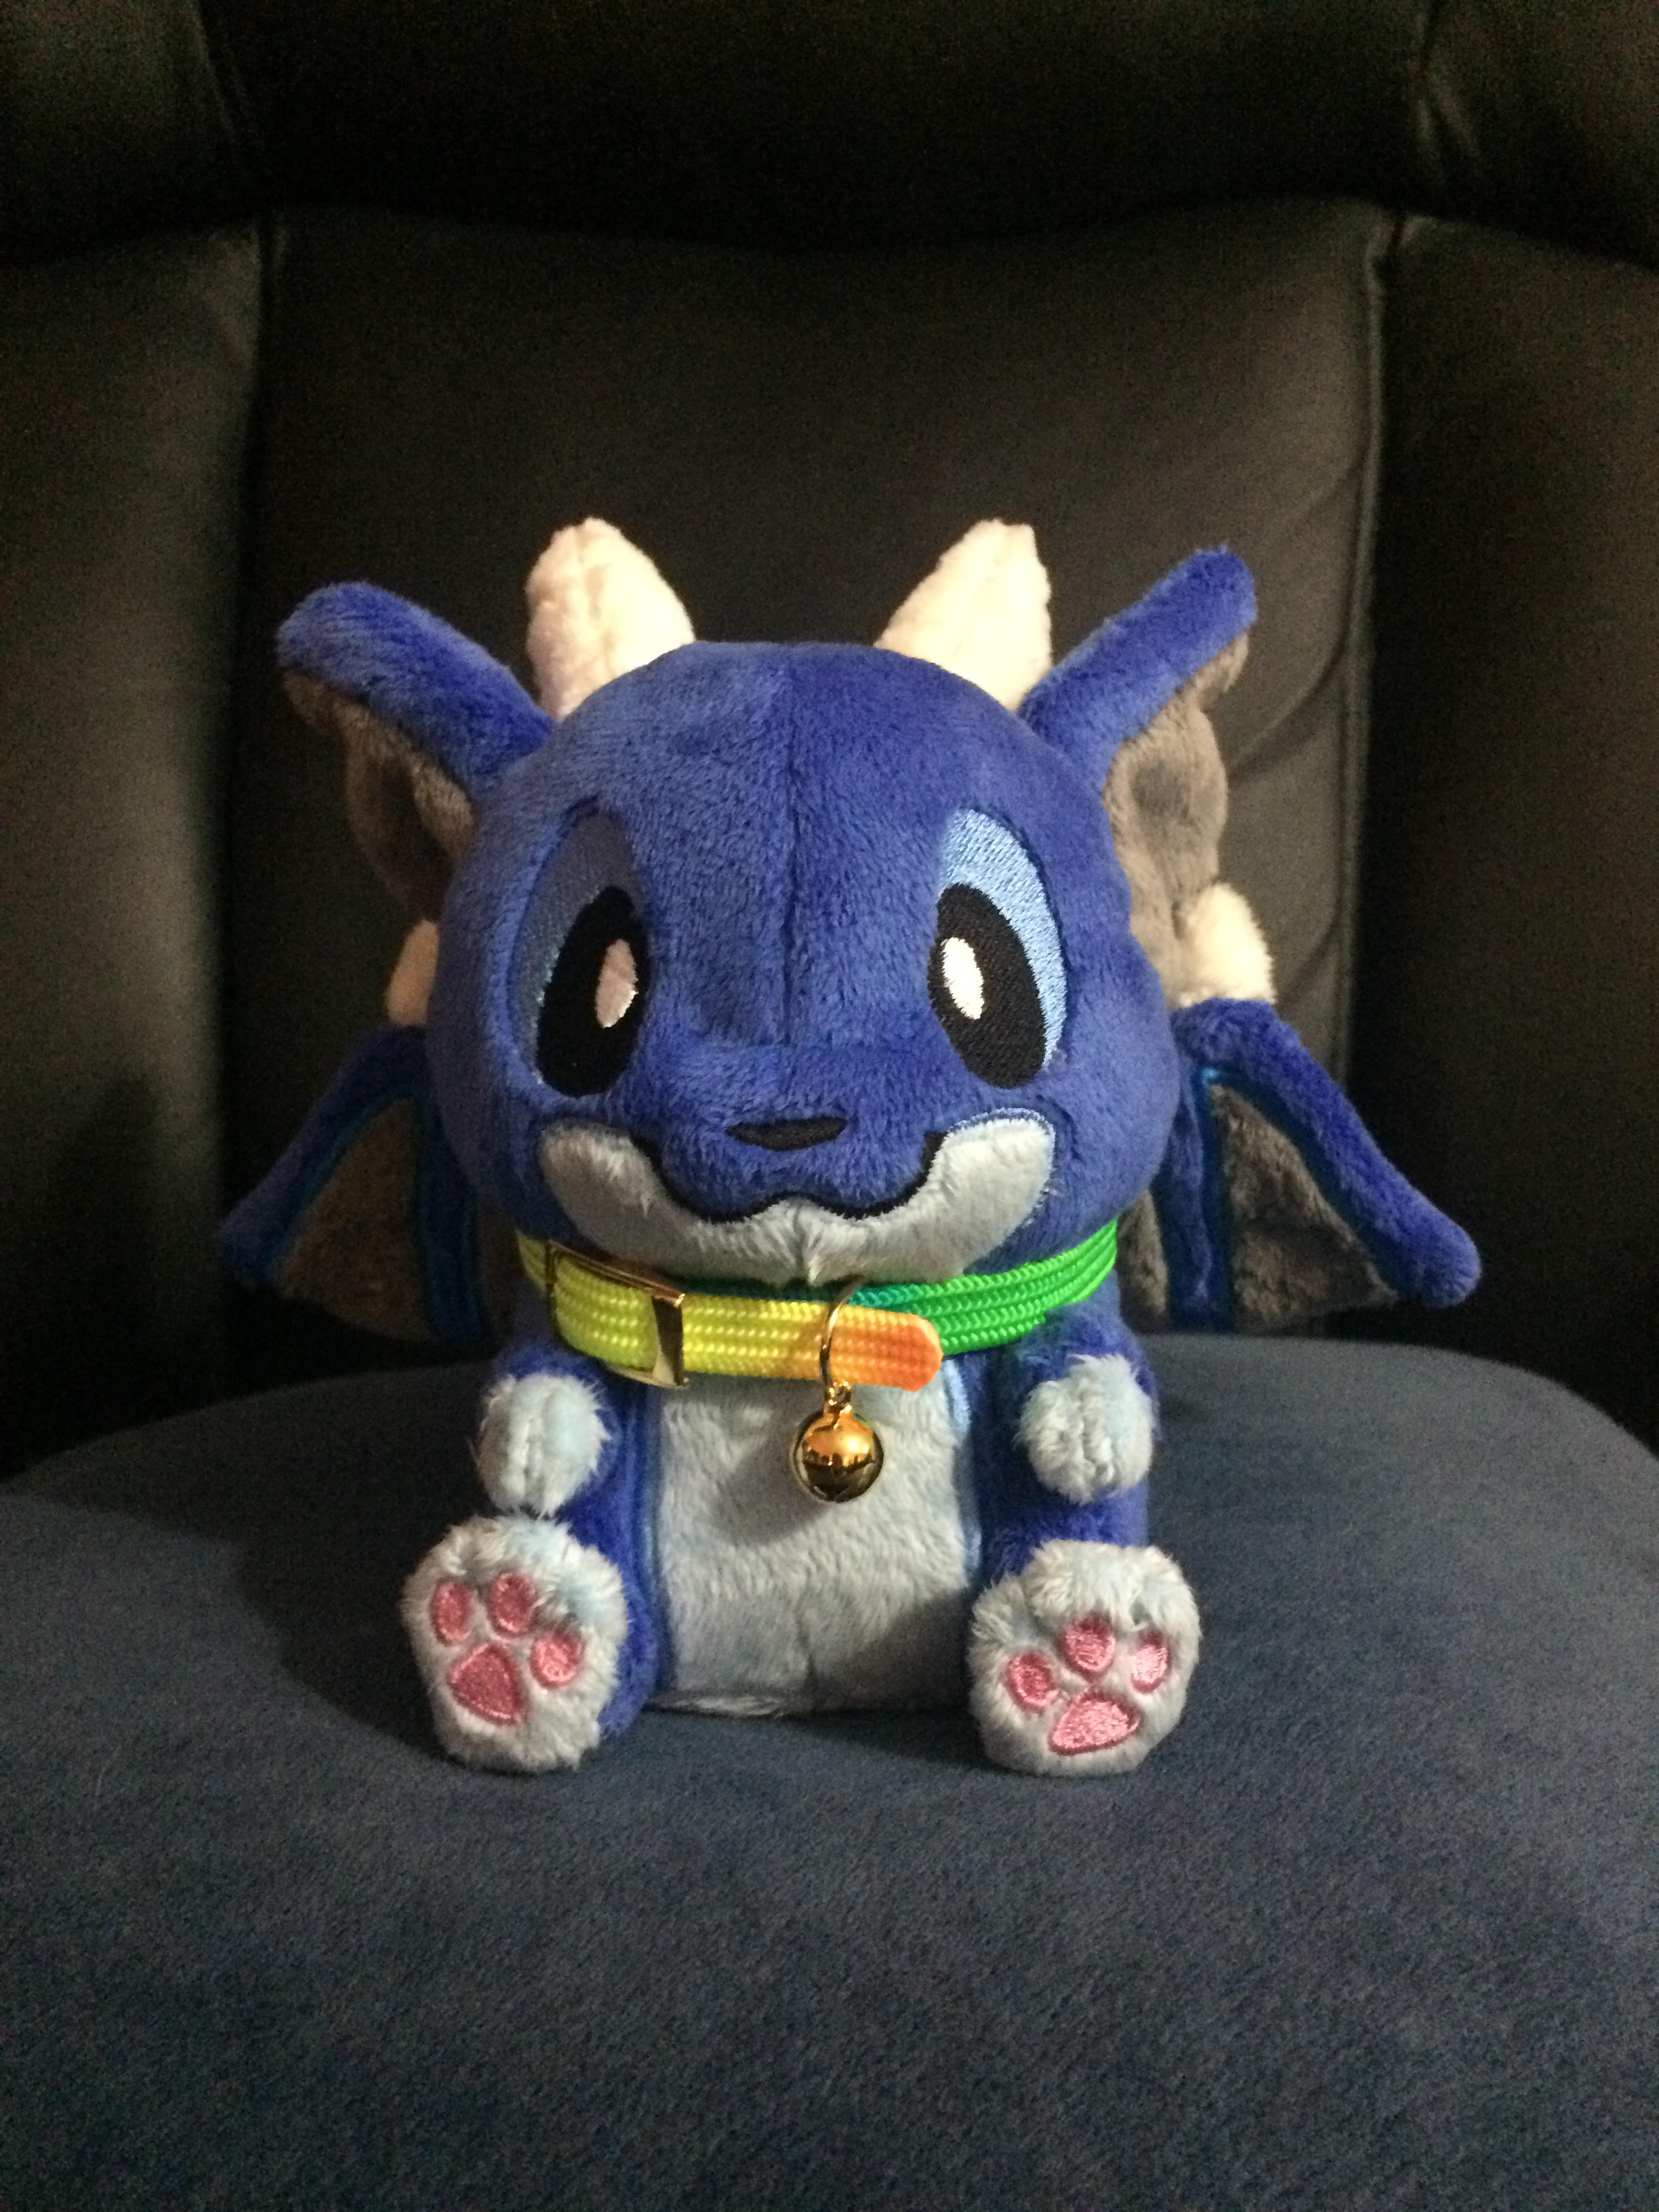
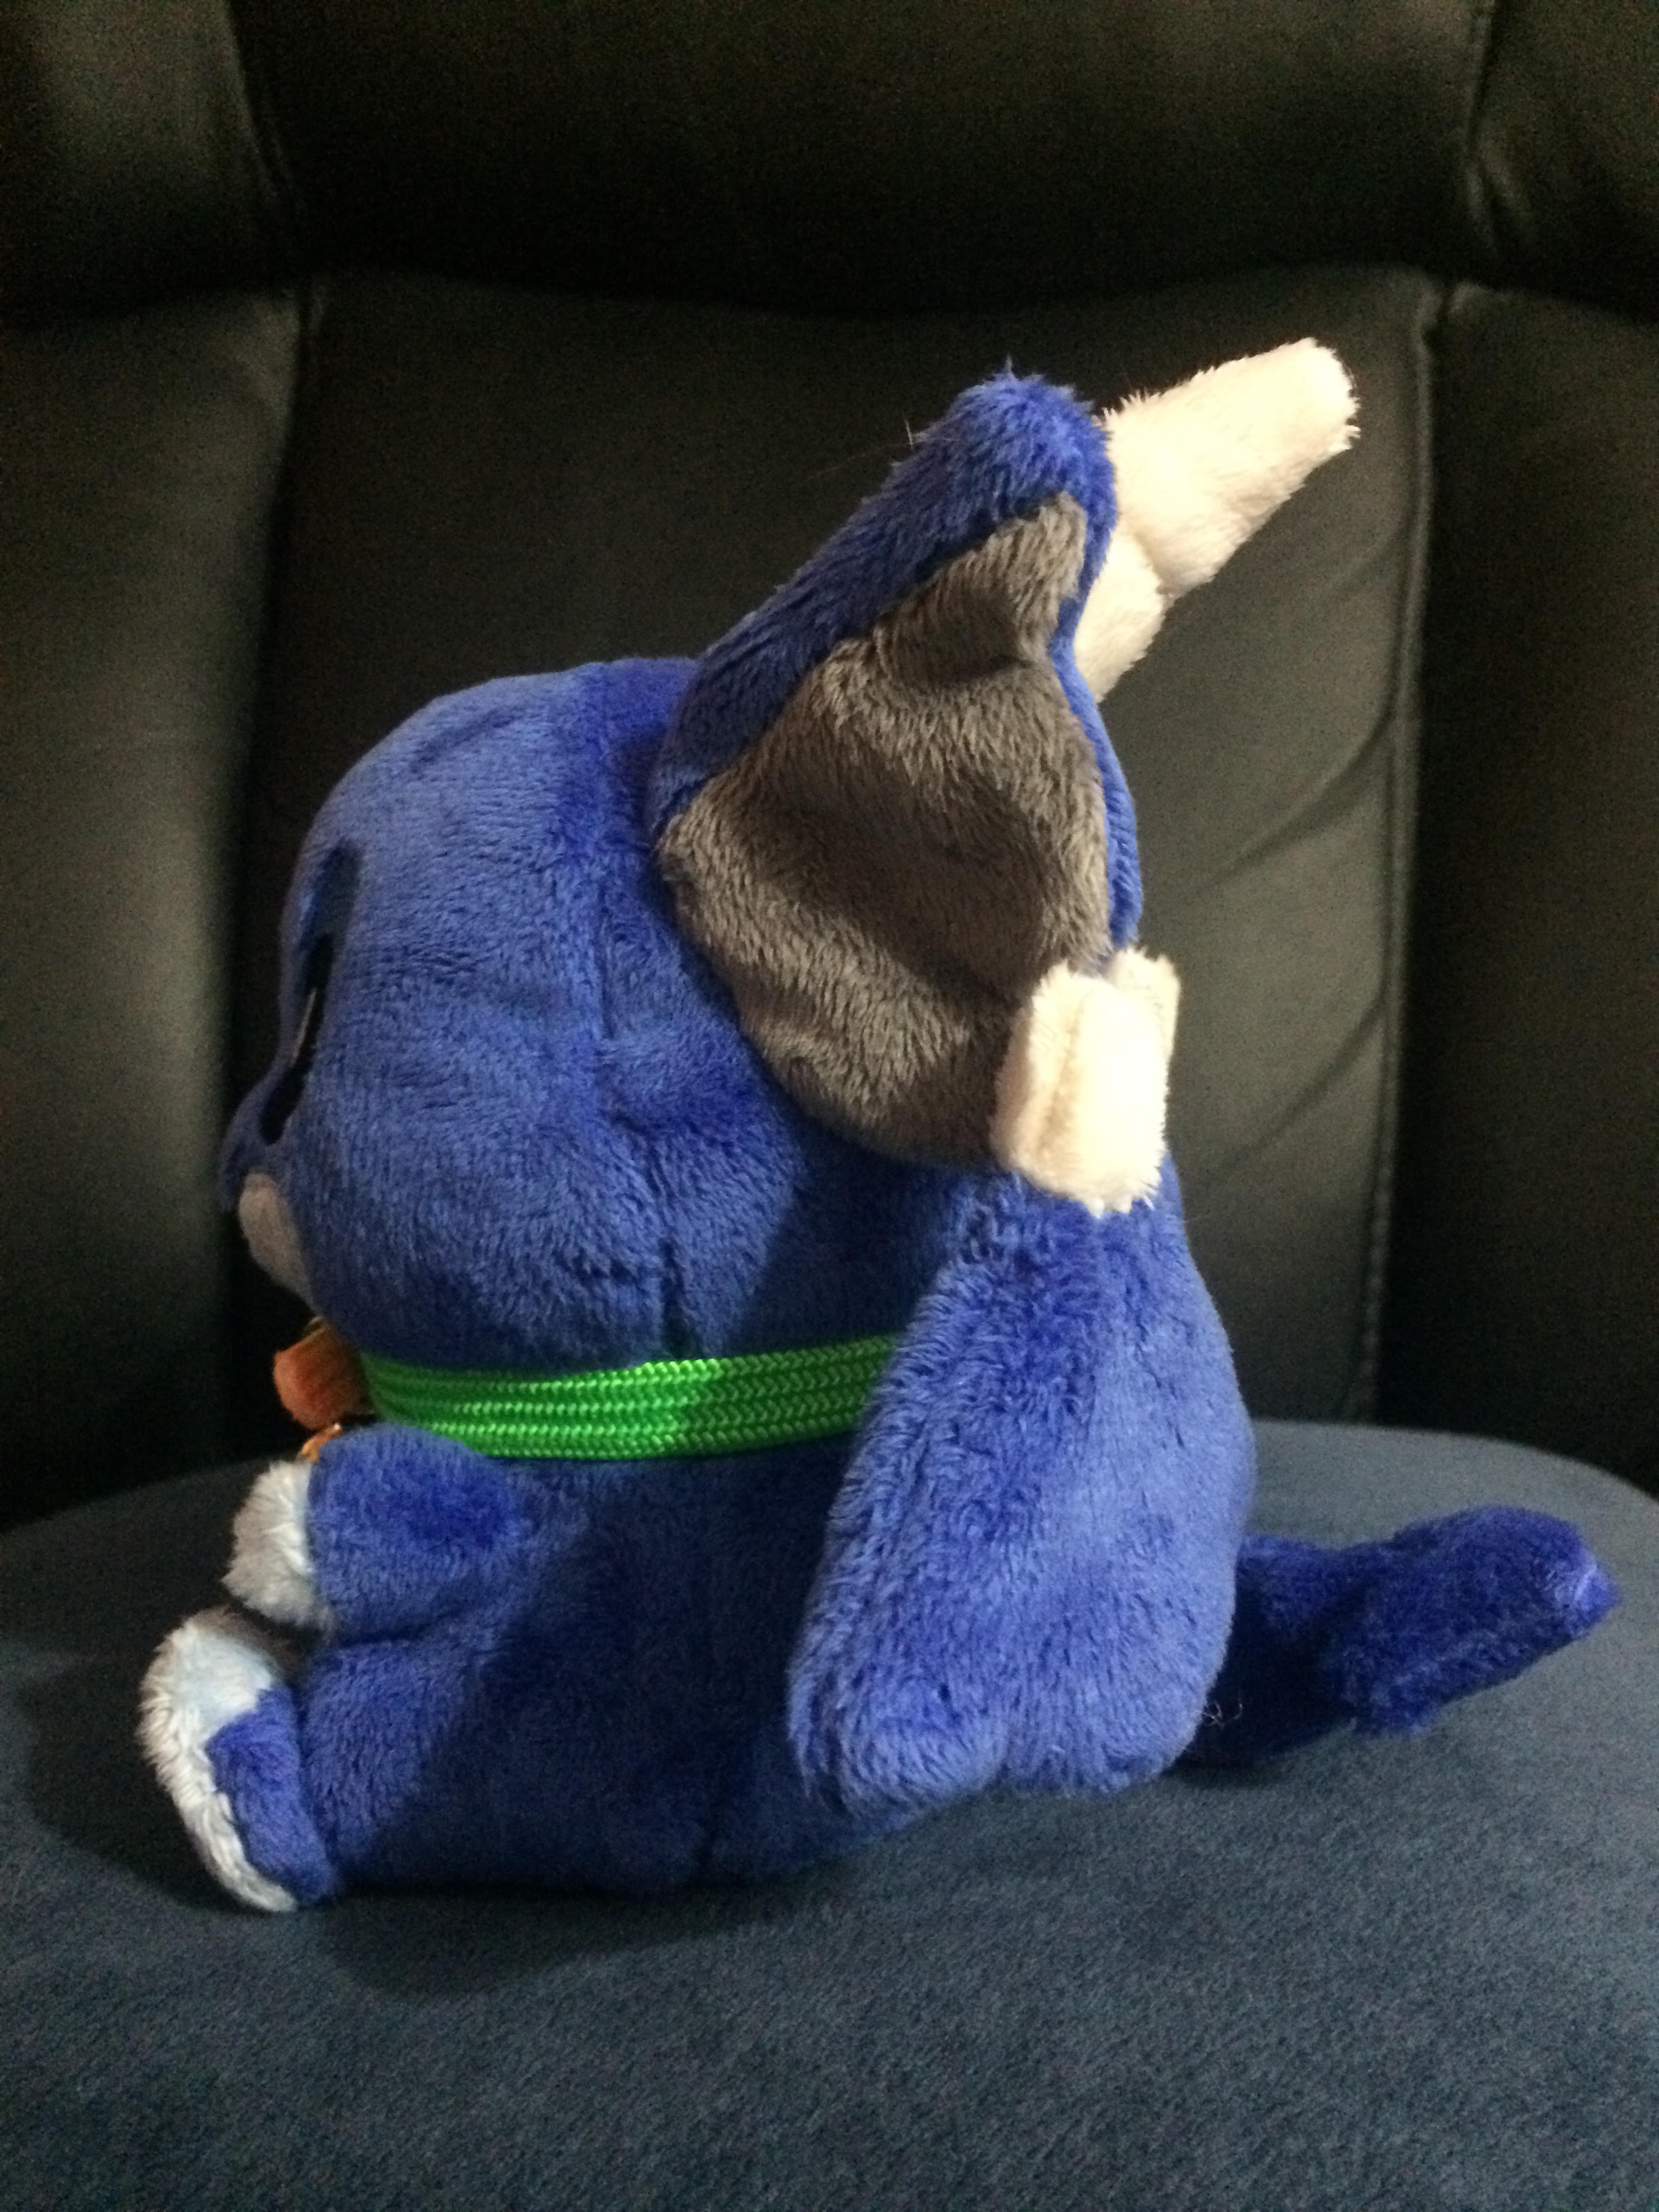
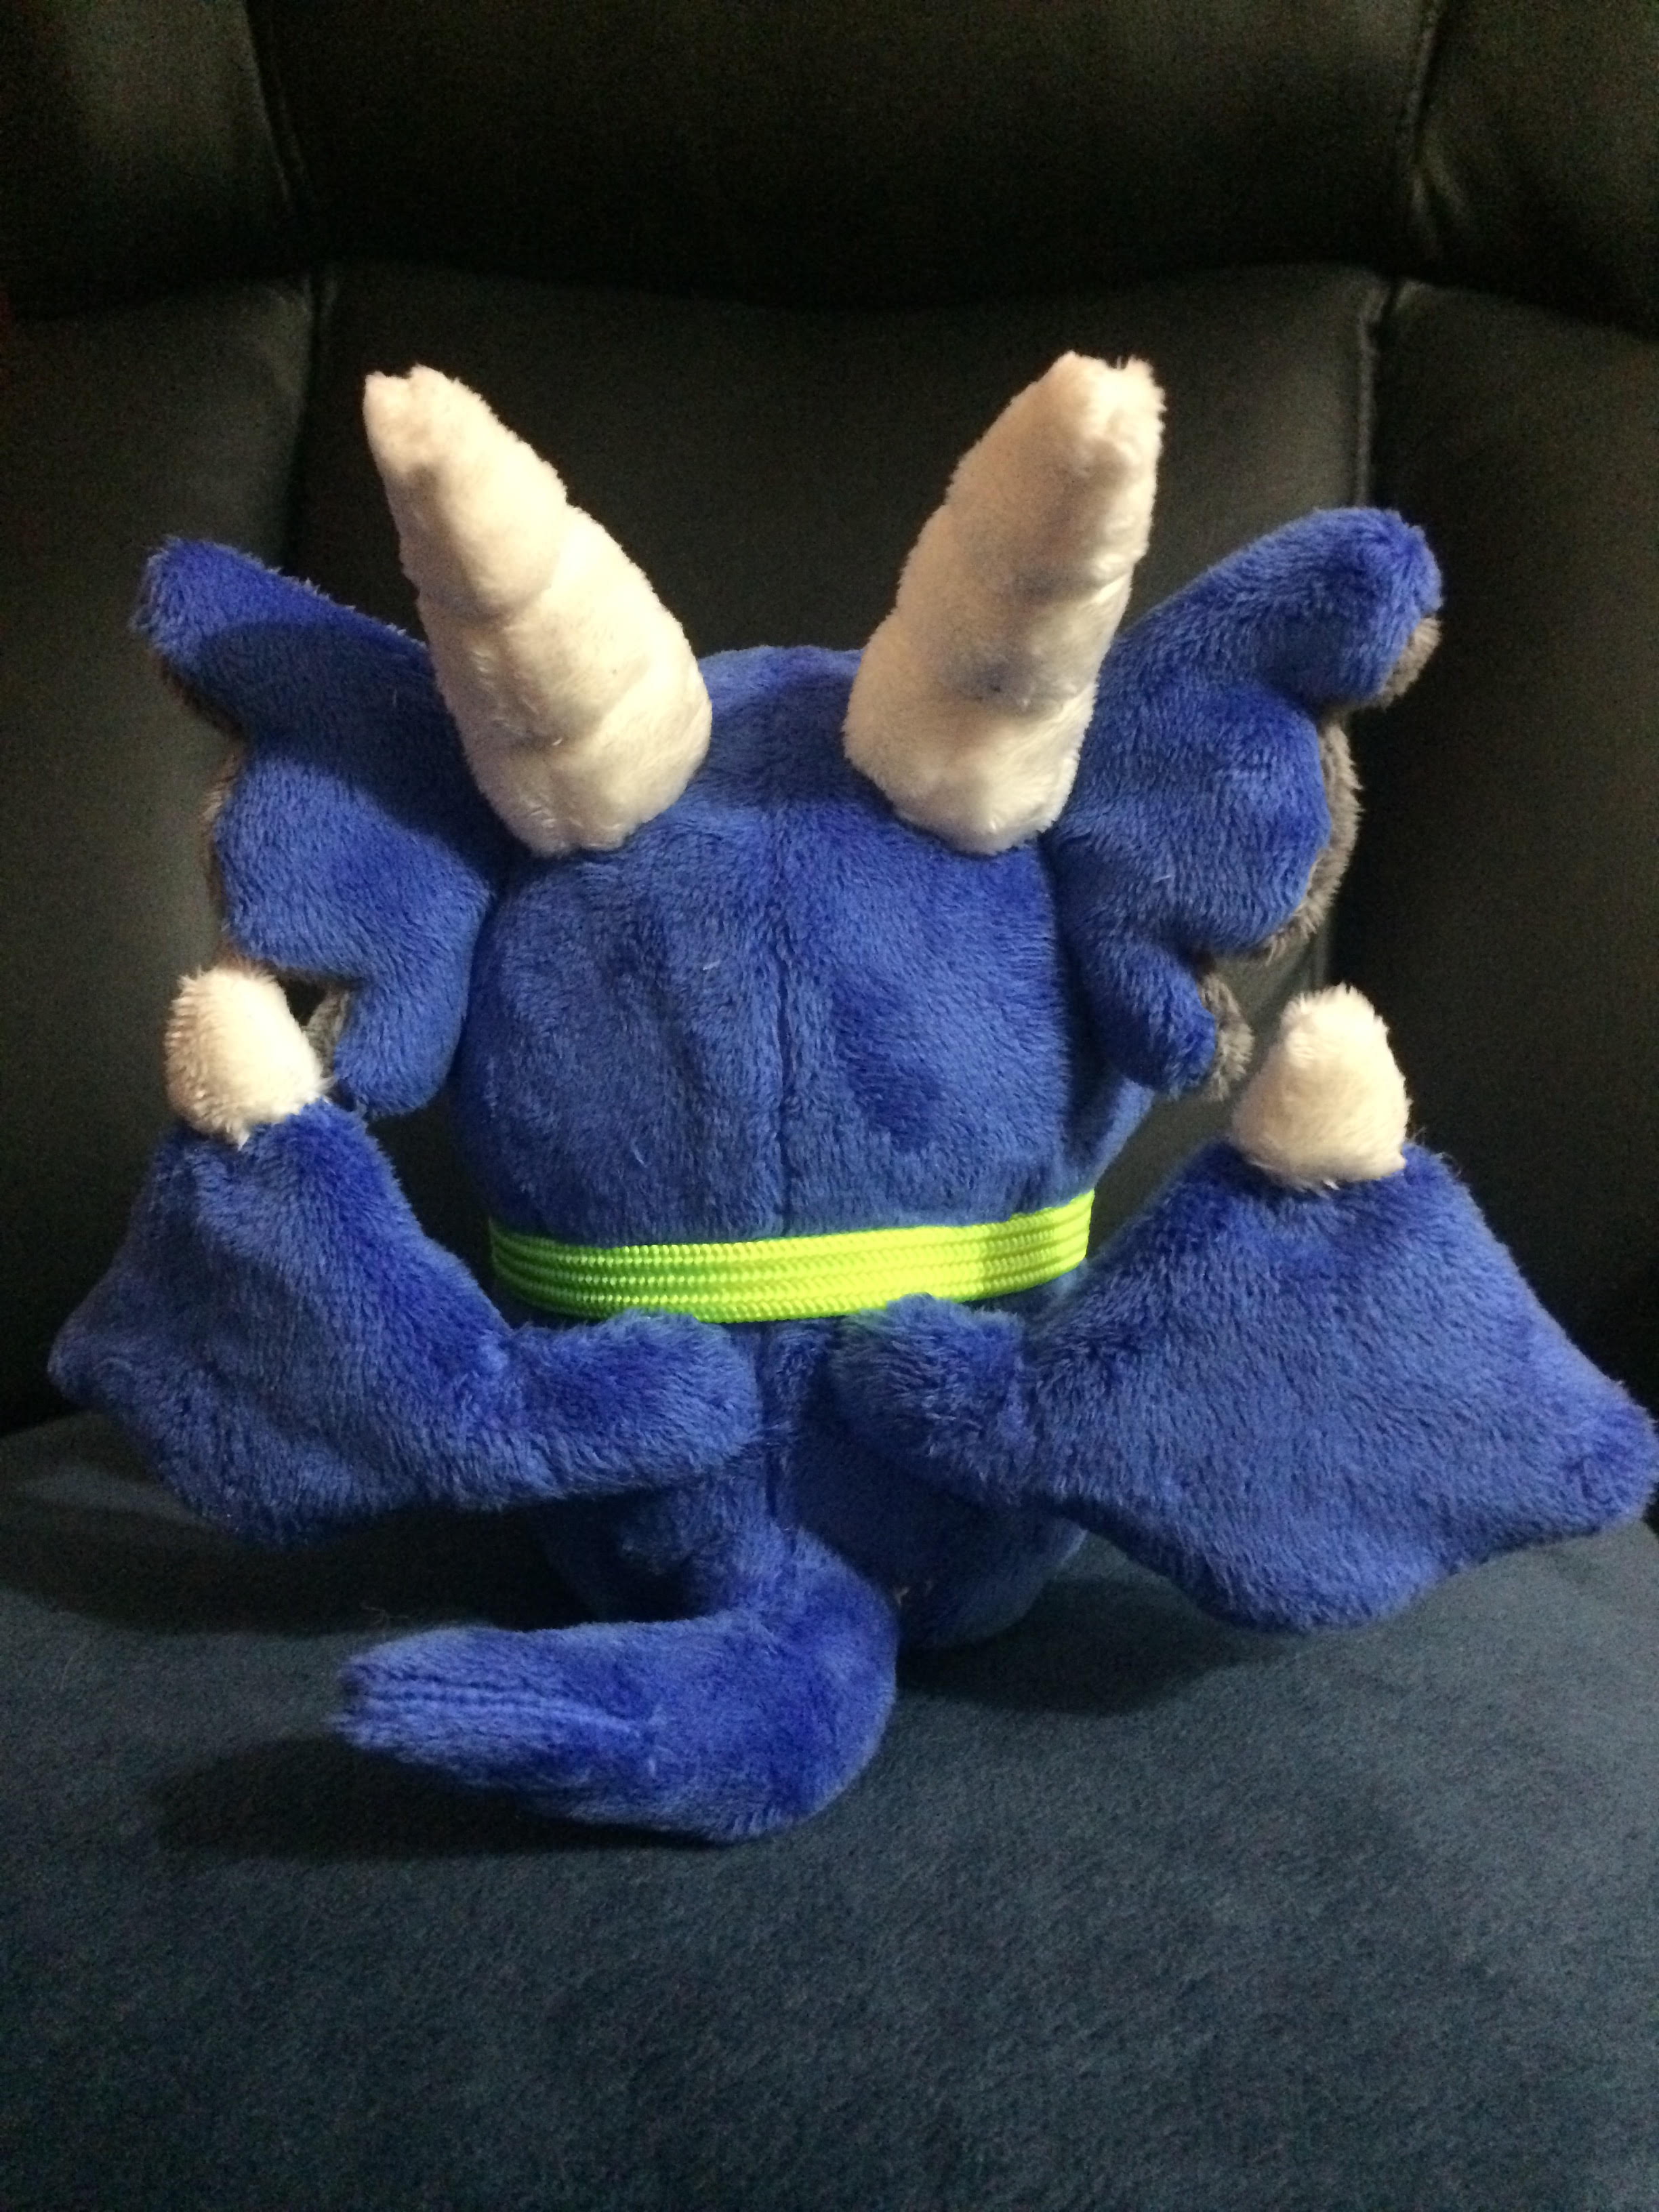
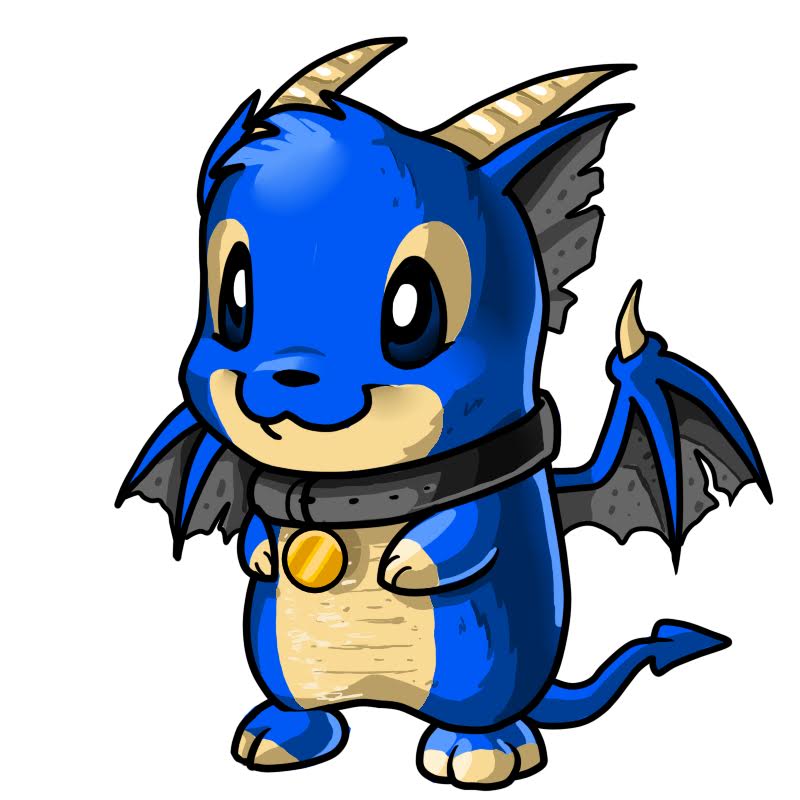
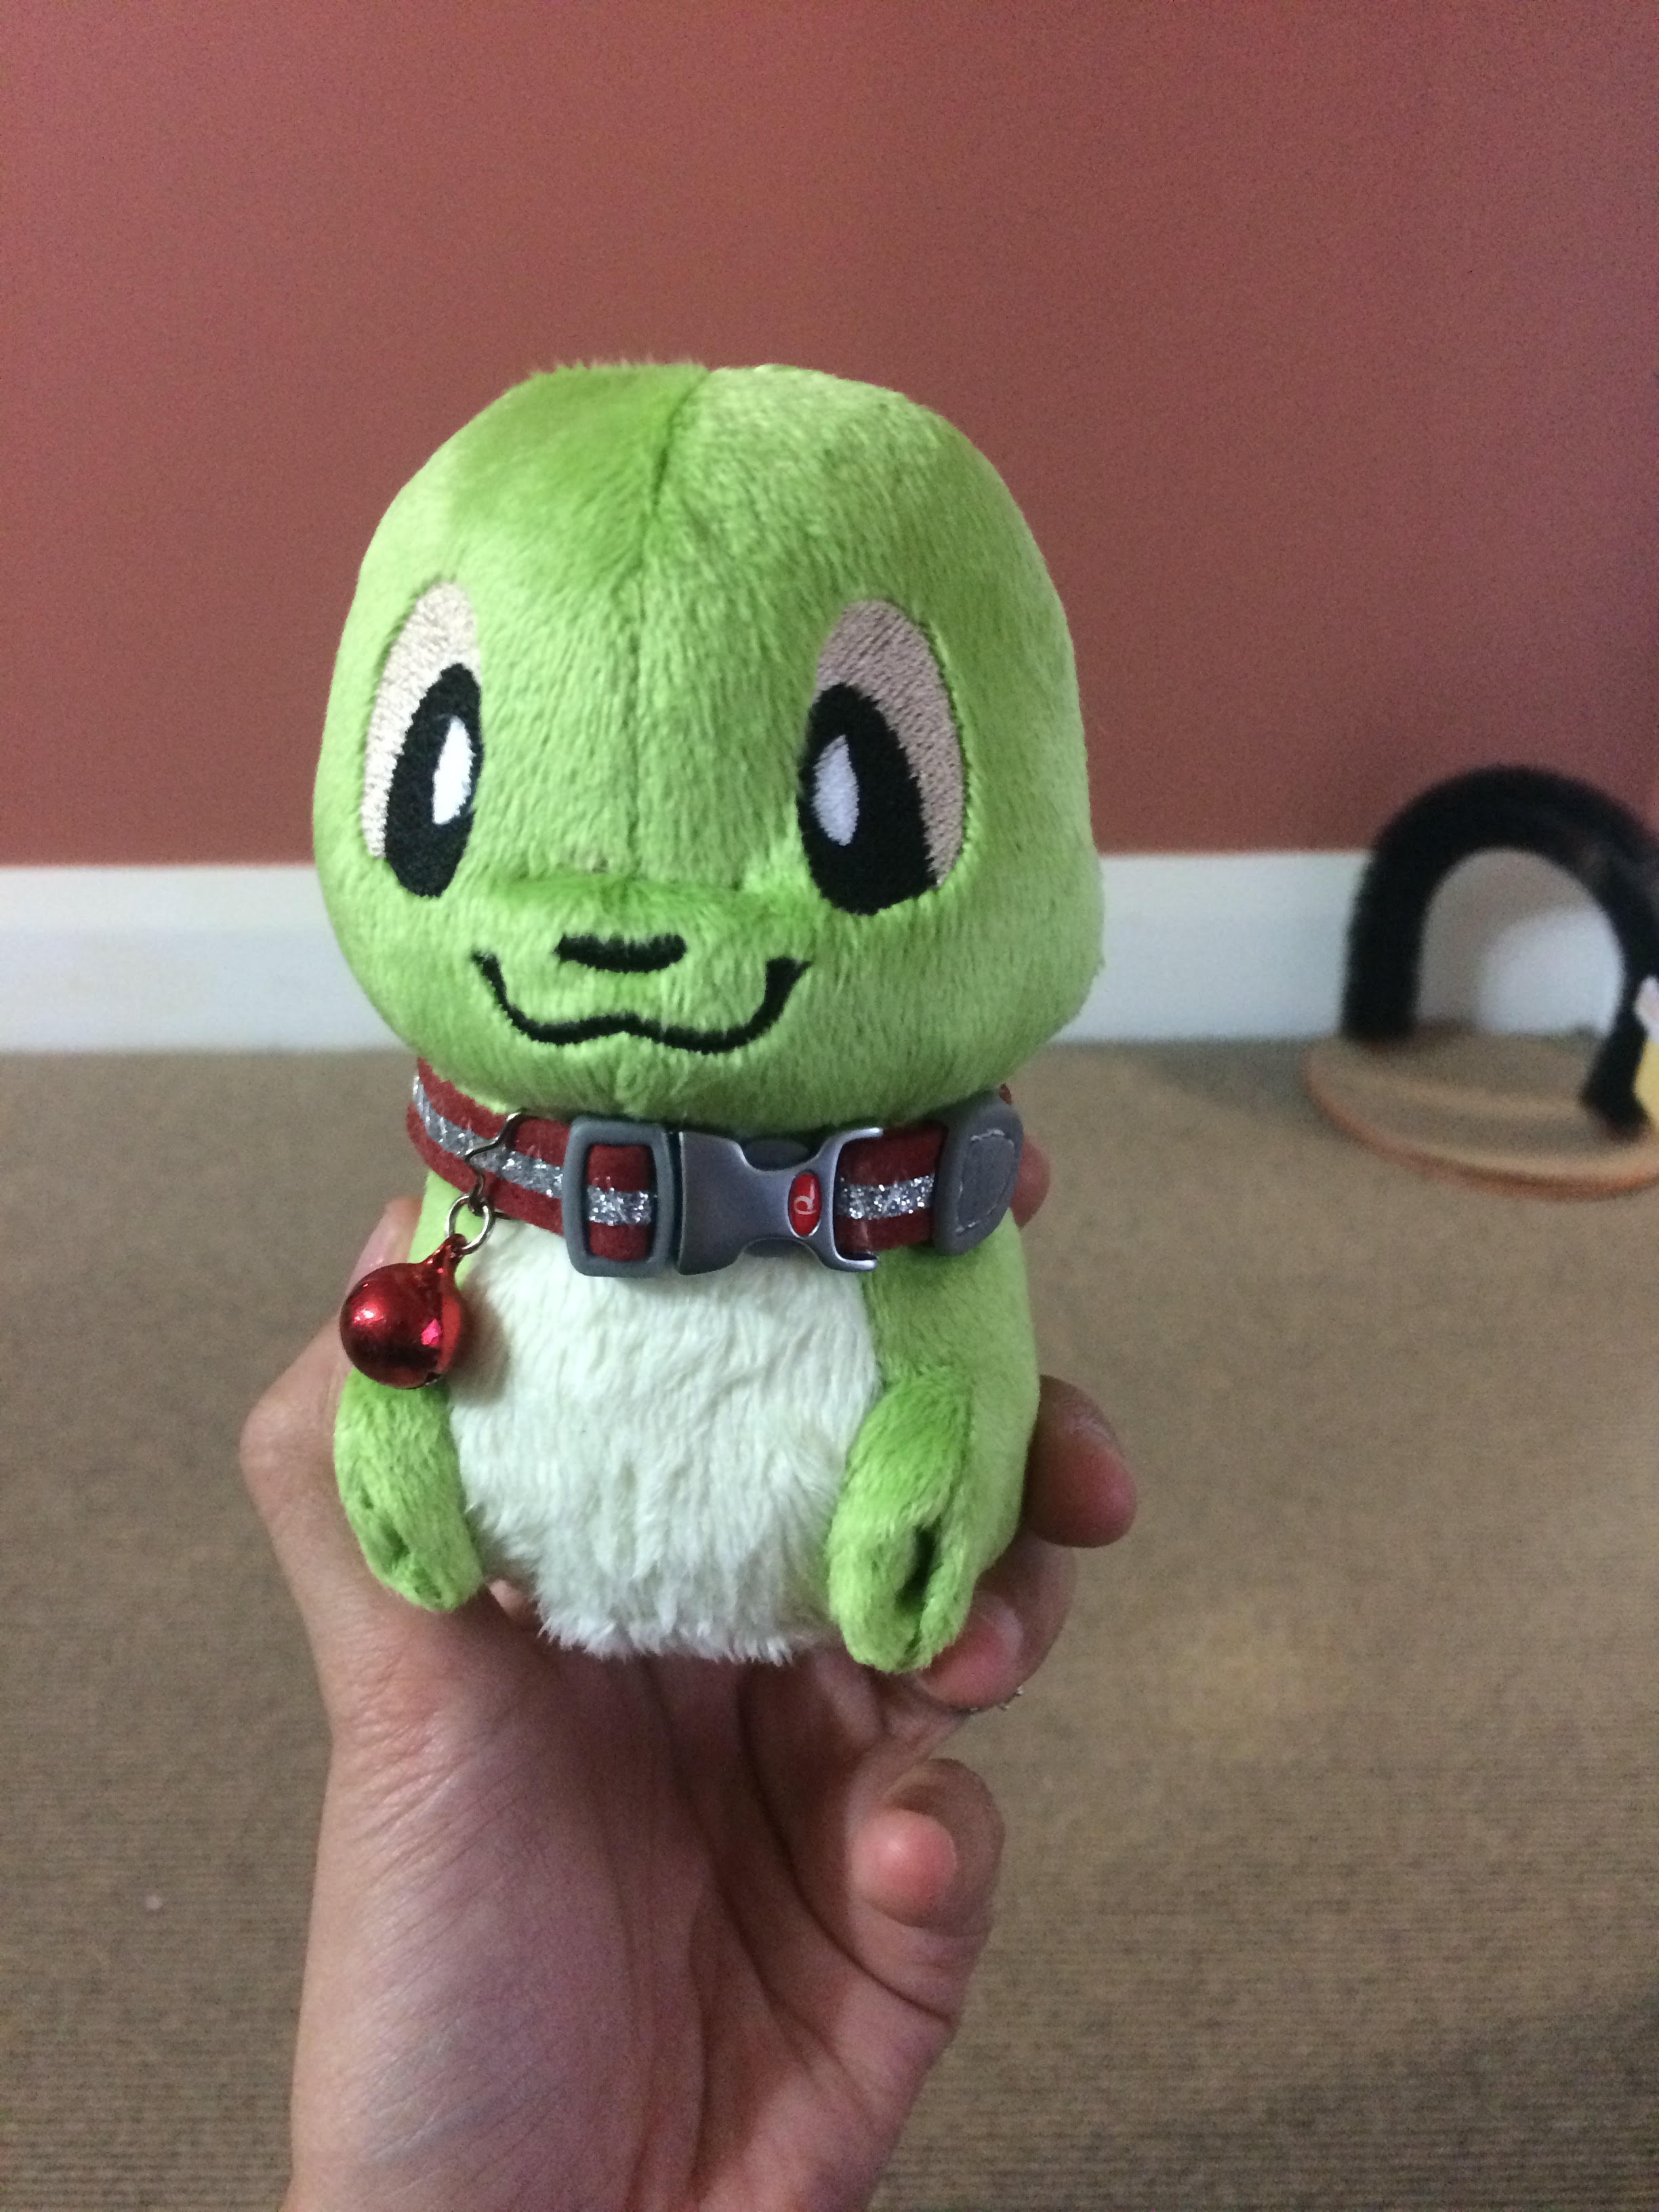
A medium-difficulty plush, a character known as a Dragon Kiro. I have also designed a Puppy Kiro in the process. The dragon has armature wire inside of it so the wings and tail are completely poseable. Both toys feature needle sculpting, custom machine embroidery and applique. The collars are from the pet store.
The dragon’s colours were slightly modified. The secondary color in the tummy, paws, and eyes were changed to blue from the concept art.
Design Process
To get the proportions right I am going to use Maya as a start for my pattern. For something like this, Maya should get me about 50% of the way there. But due to how UV mapping works and how I can run into some stretching issues, I keep things simple with my silhouette and add details later. Things like feet, ears, arms and horns will be added in another pass. The nose will probably have to be achieved with some thread sculpting, so I won’t try and get that flatness in, for now.
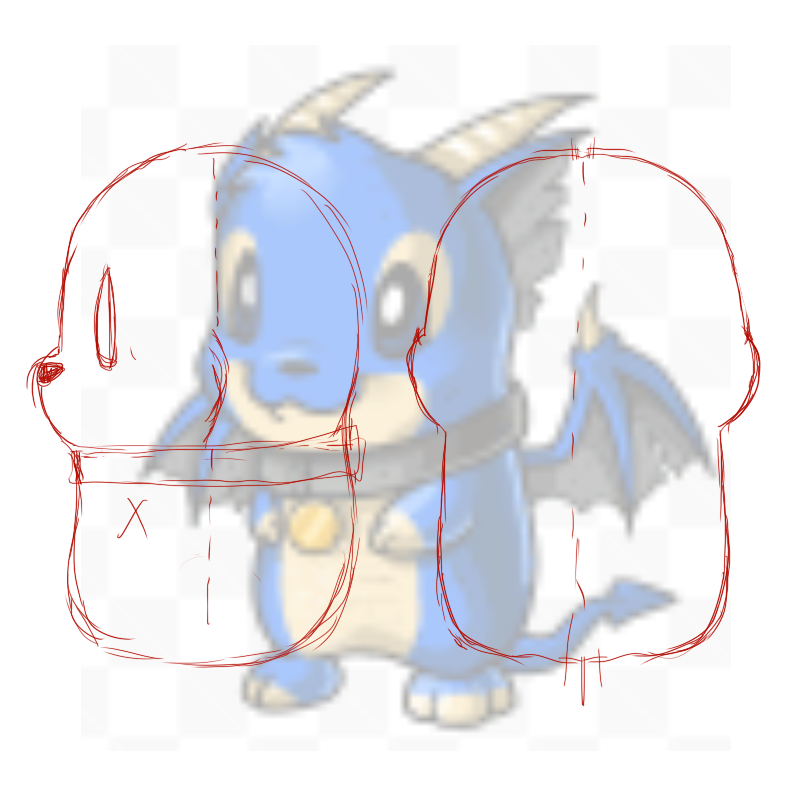
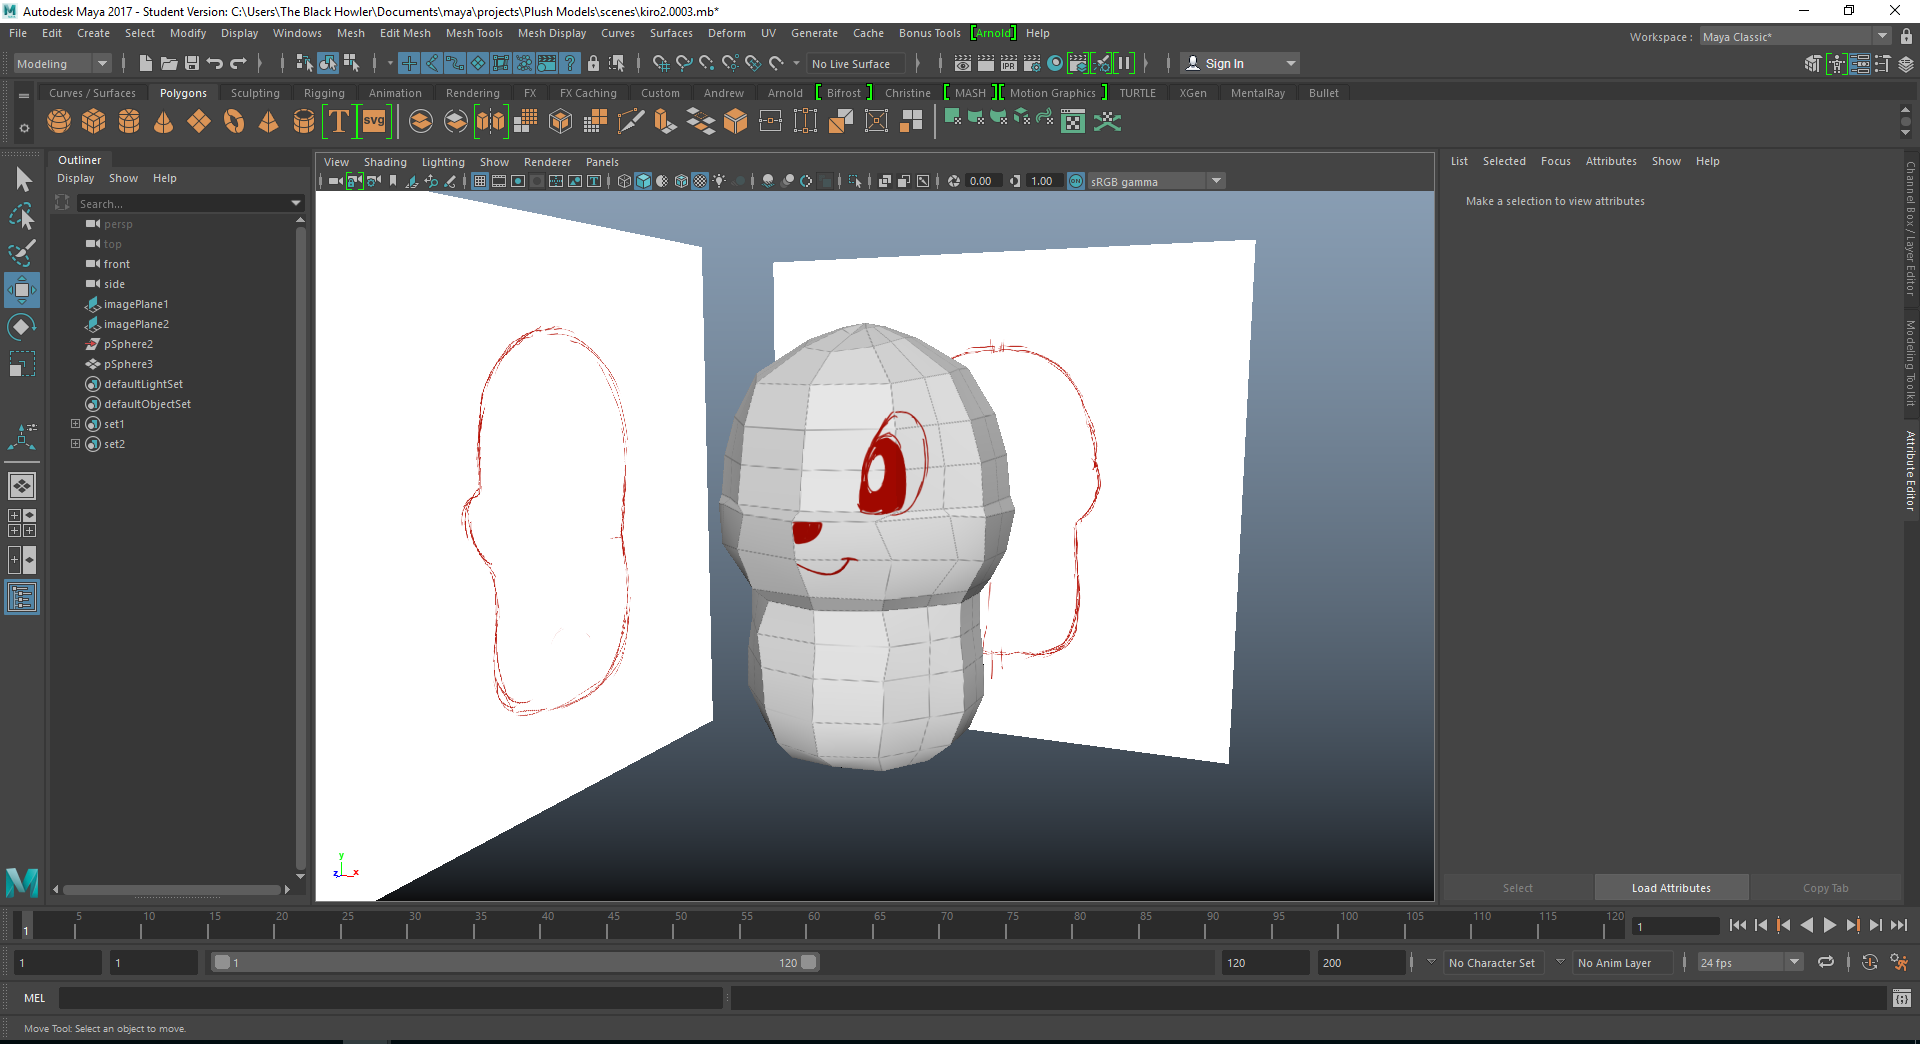
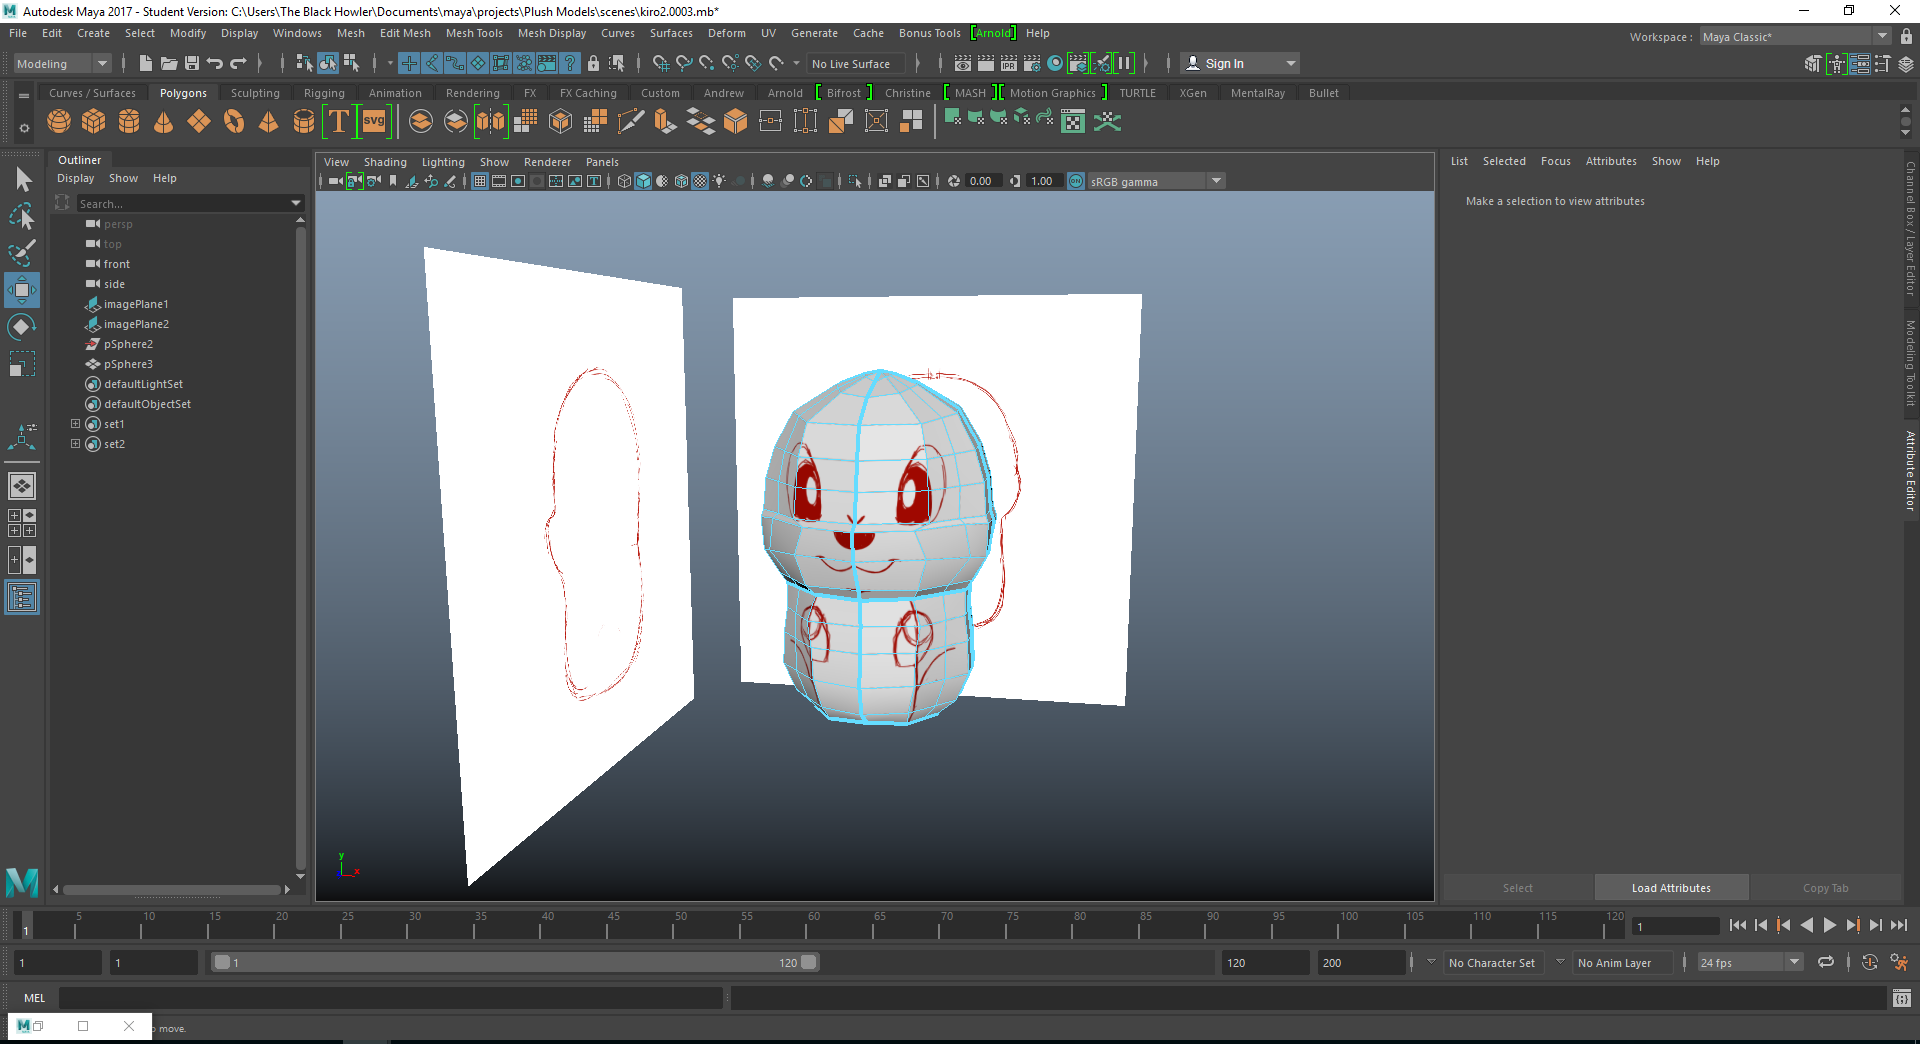
I create my front and side images to reference in Maya.
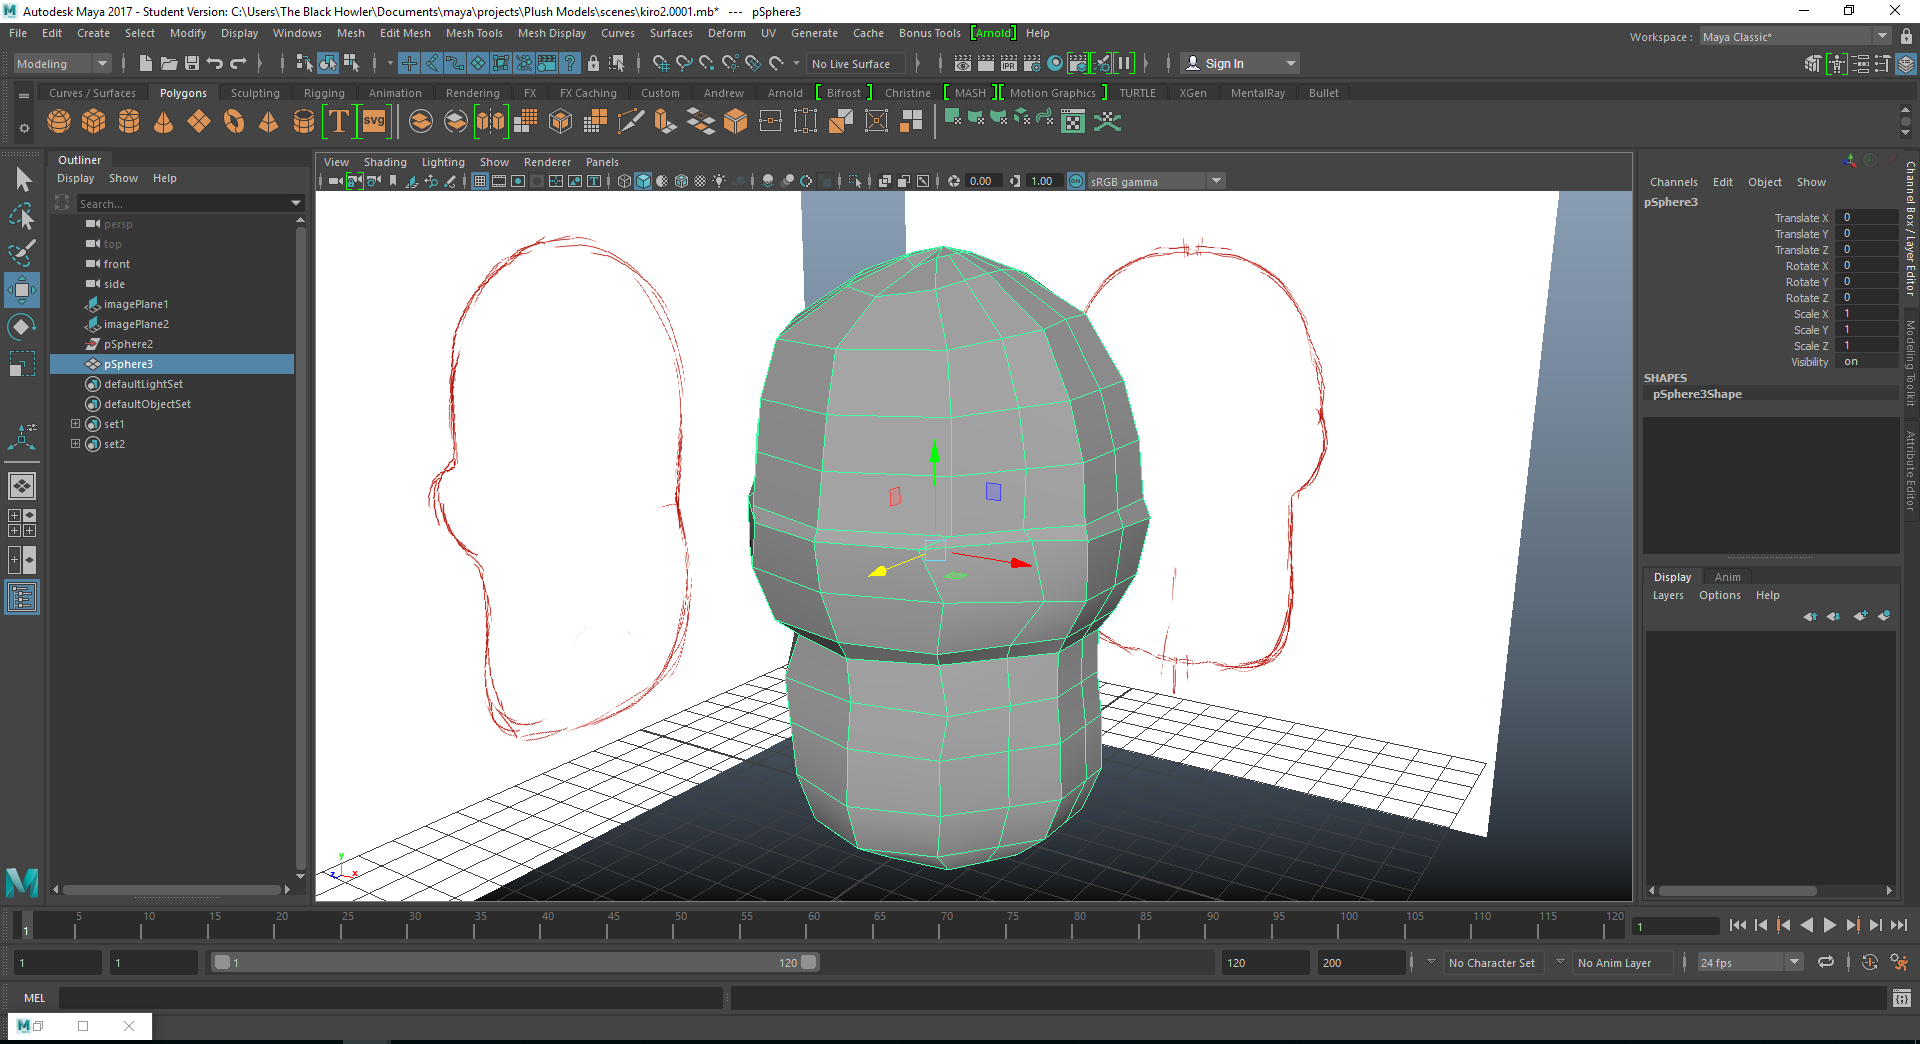
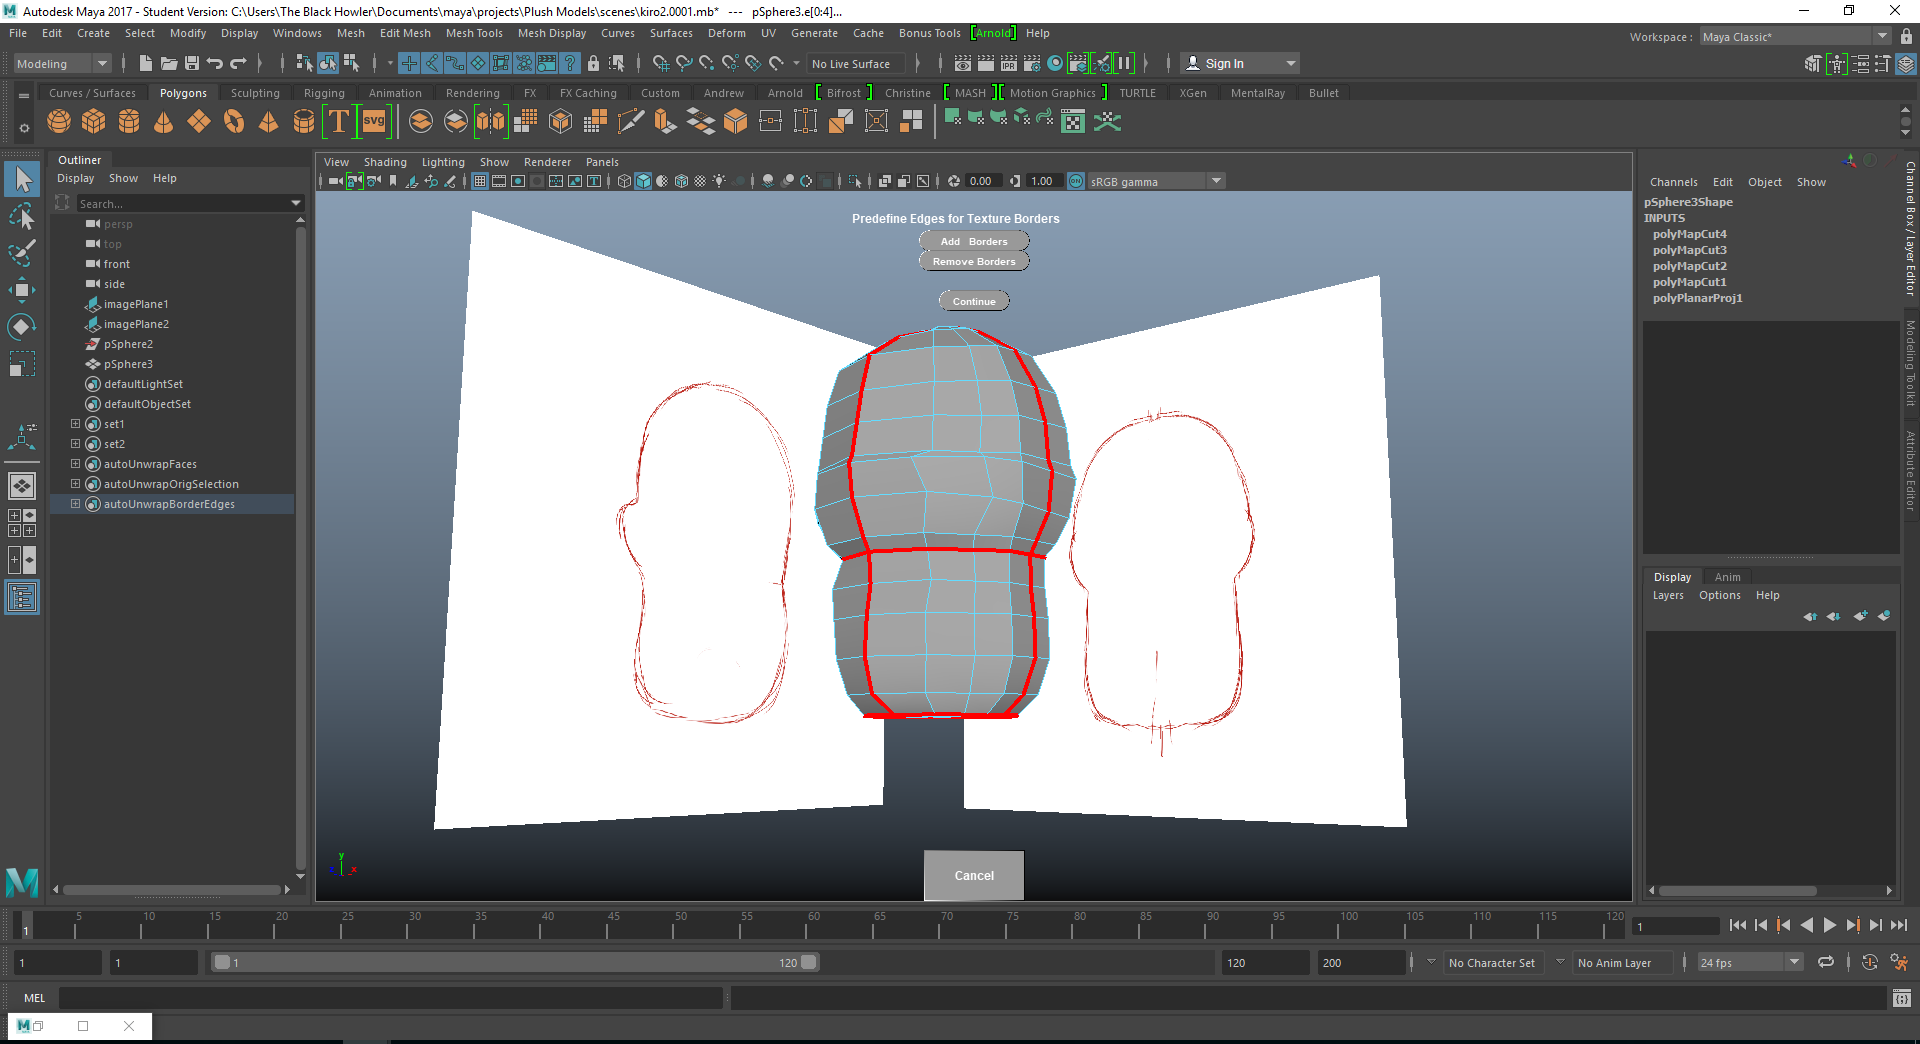
Then I model, not worrying too much about topology. I just need to remember that I need to have an edge loop where I’ll have seams, as I’ll cut along that. I use Maya’s Bonus Tools (the auto UV unwrap) to draw in my seams and cut.
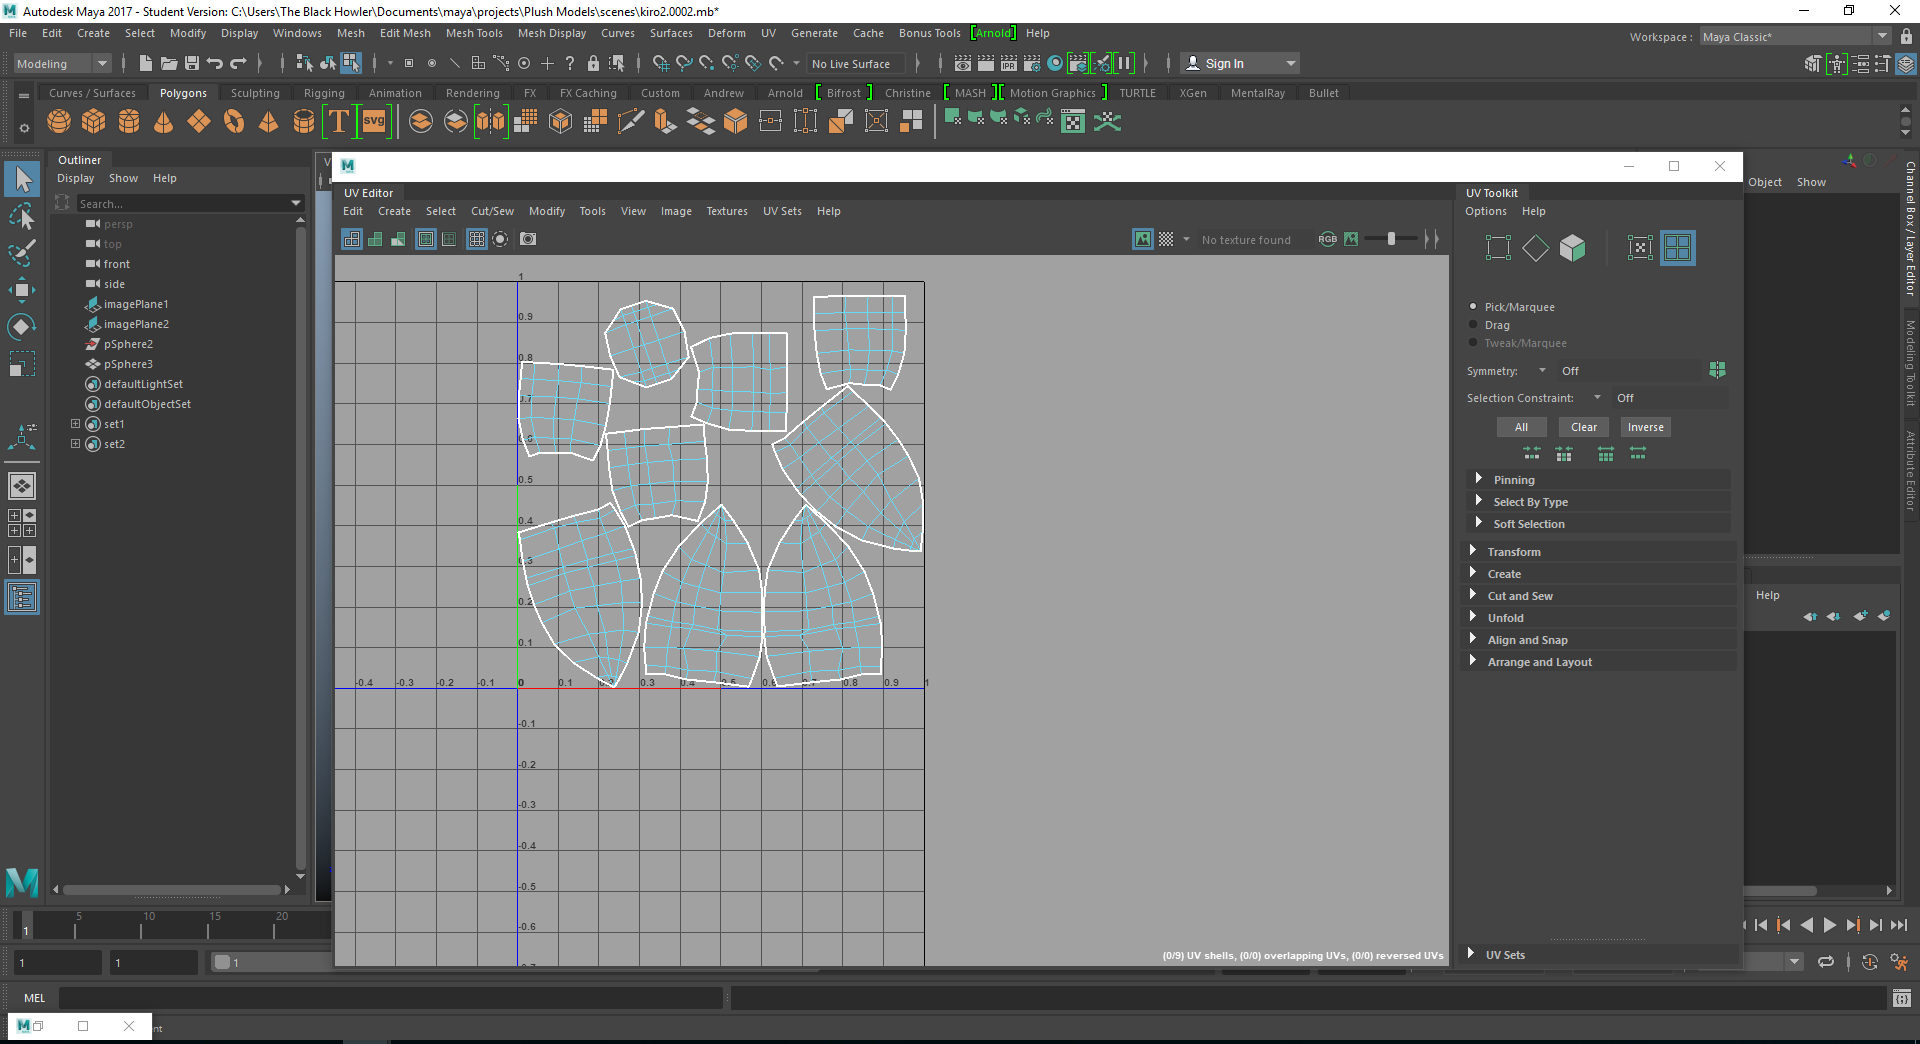
I then flatten my UVs, and then draw into my UV map to mark where embroidery will go. I also mark where I will attach things. Doing my prototyping this way allows for real time feedback on embroidery, as sometimes, my embroidery is crooked or just too far from where it’s meant to be.
Next, in photoshop I rearrange my pieces, scale the pieces, and then it’s time for a first test.

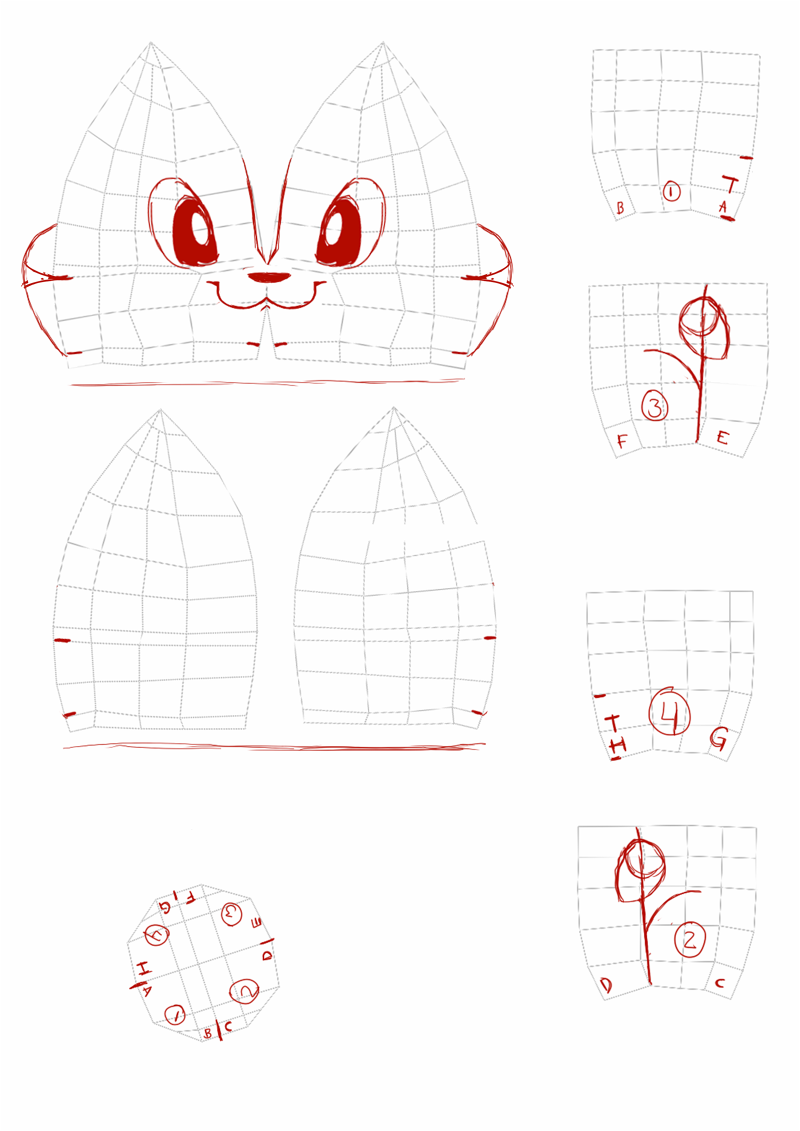
The patterns get laid out in photoshop so they can be easily marked. A label where each piece is meant to go, and mark where the legs and arms will be placed.
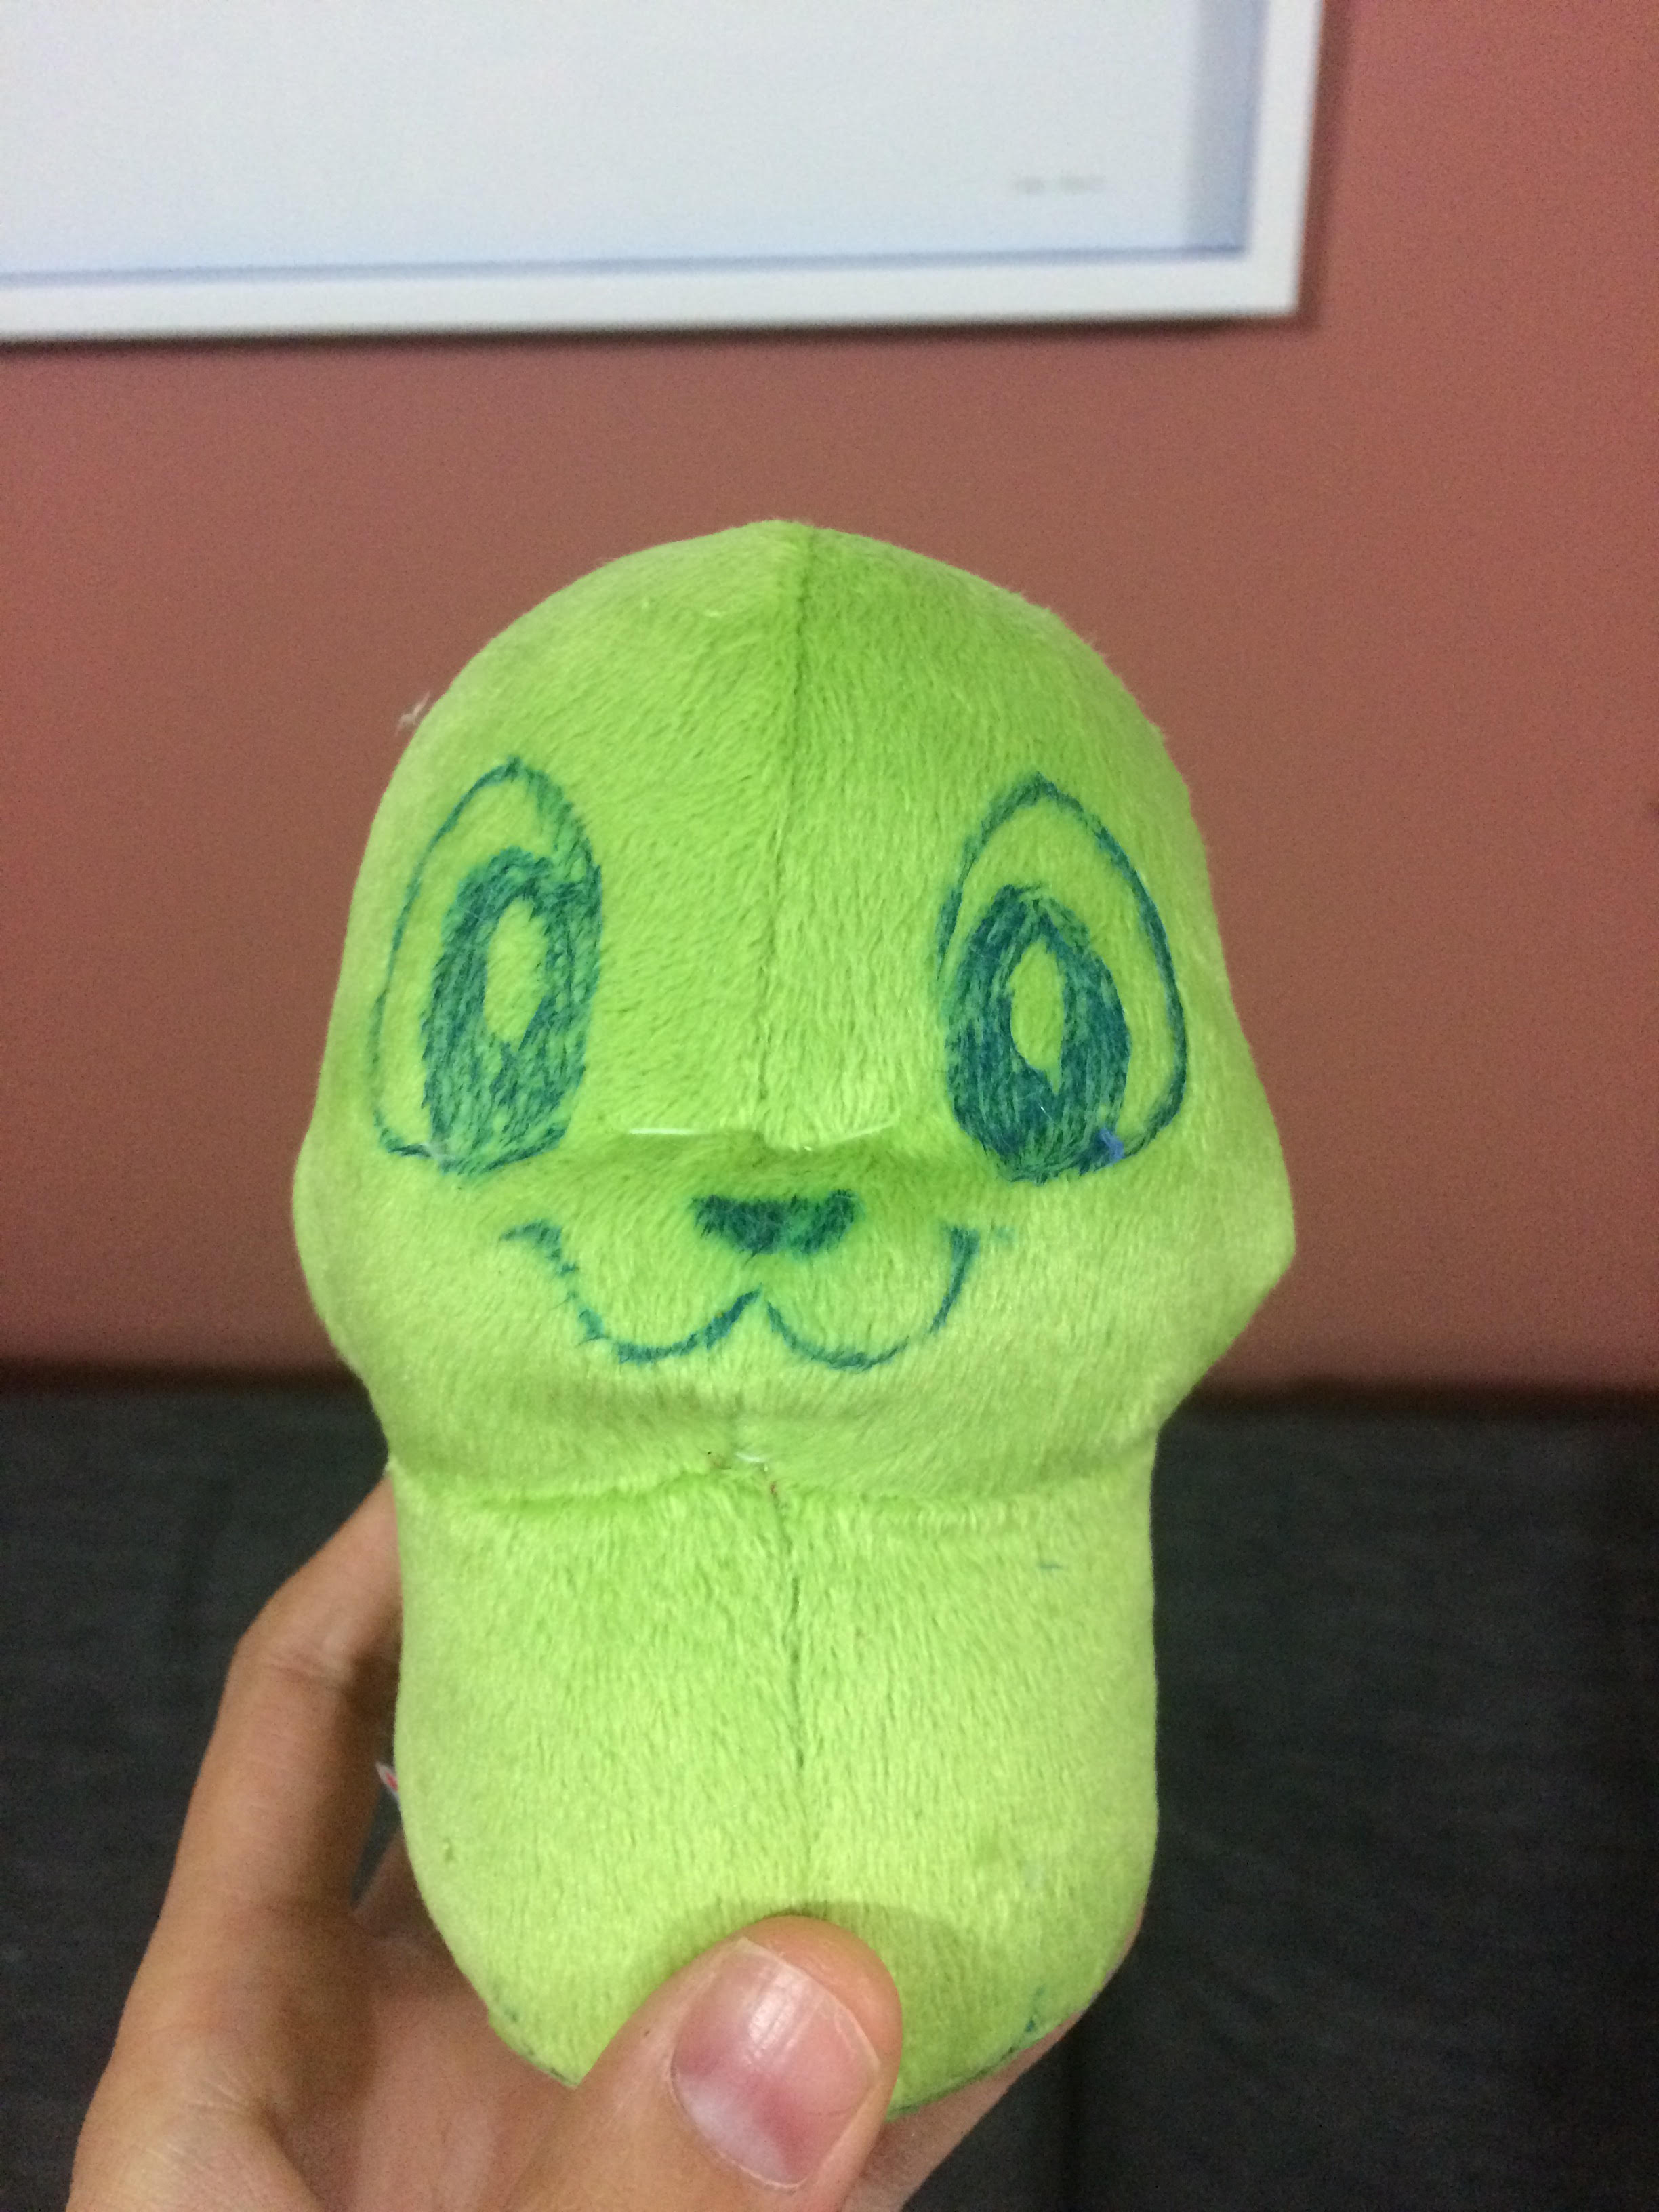
I’m happy where it’s at so far, so I do the embroidery tests next. Embroidery changes how your fabric bends and stuffs, so it’s always good to do a test before you start adding the final details.

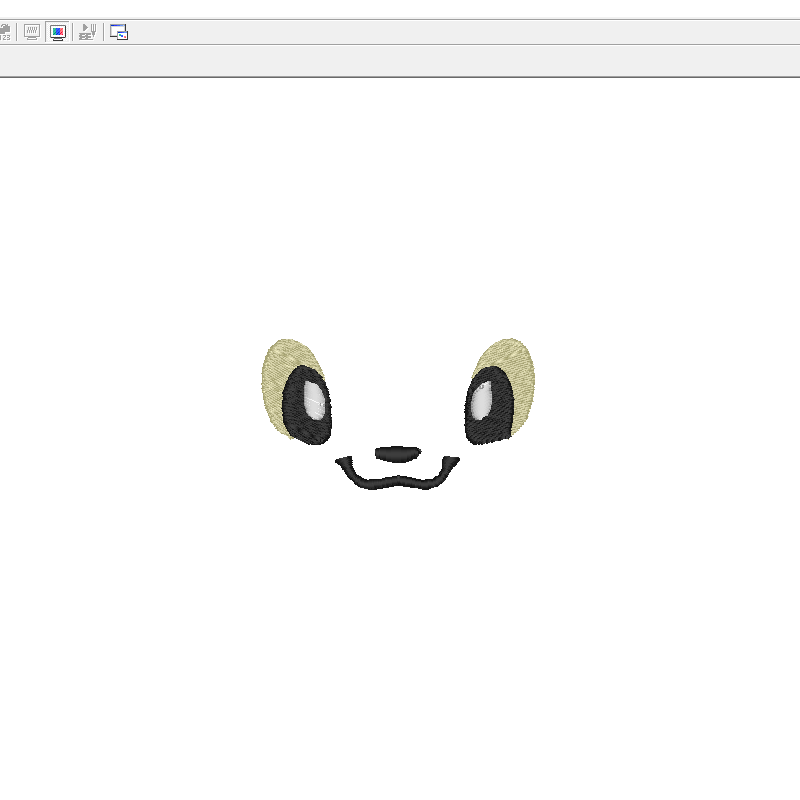
I digitise my embroidery by cel shading over my sketch. I use PE Design to convert my colours into stitches. I then let the embroidery run on my machine, cutting out the shapes using my pattern as a stencil.
At this stage I also do the legs. Here is where it takes a bit of practice – Maya won’t help much here. I add legs to the pattern, but I also merge two pieces and make a few changes the make the centre gusset (the peach colour). If you are interested, contact me and I will show you that part of the pattern.
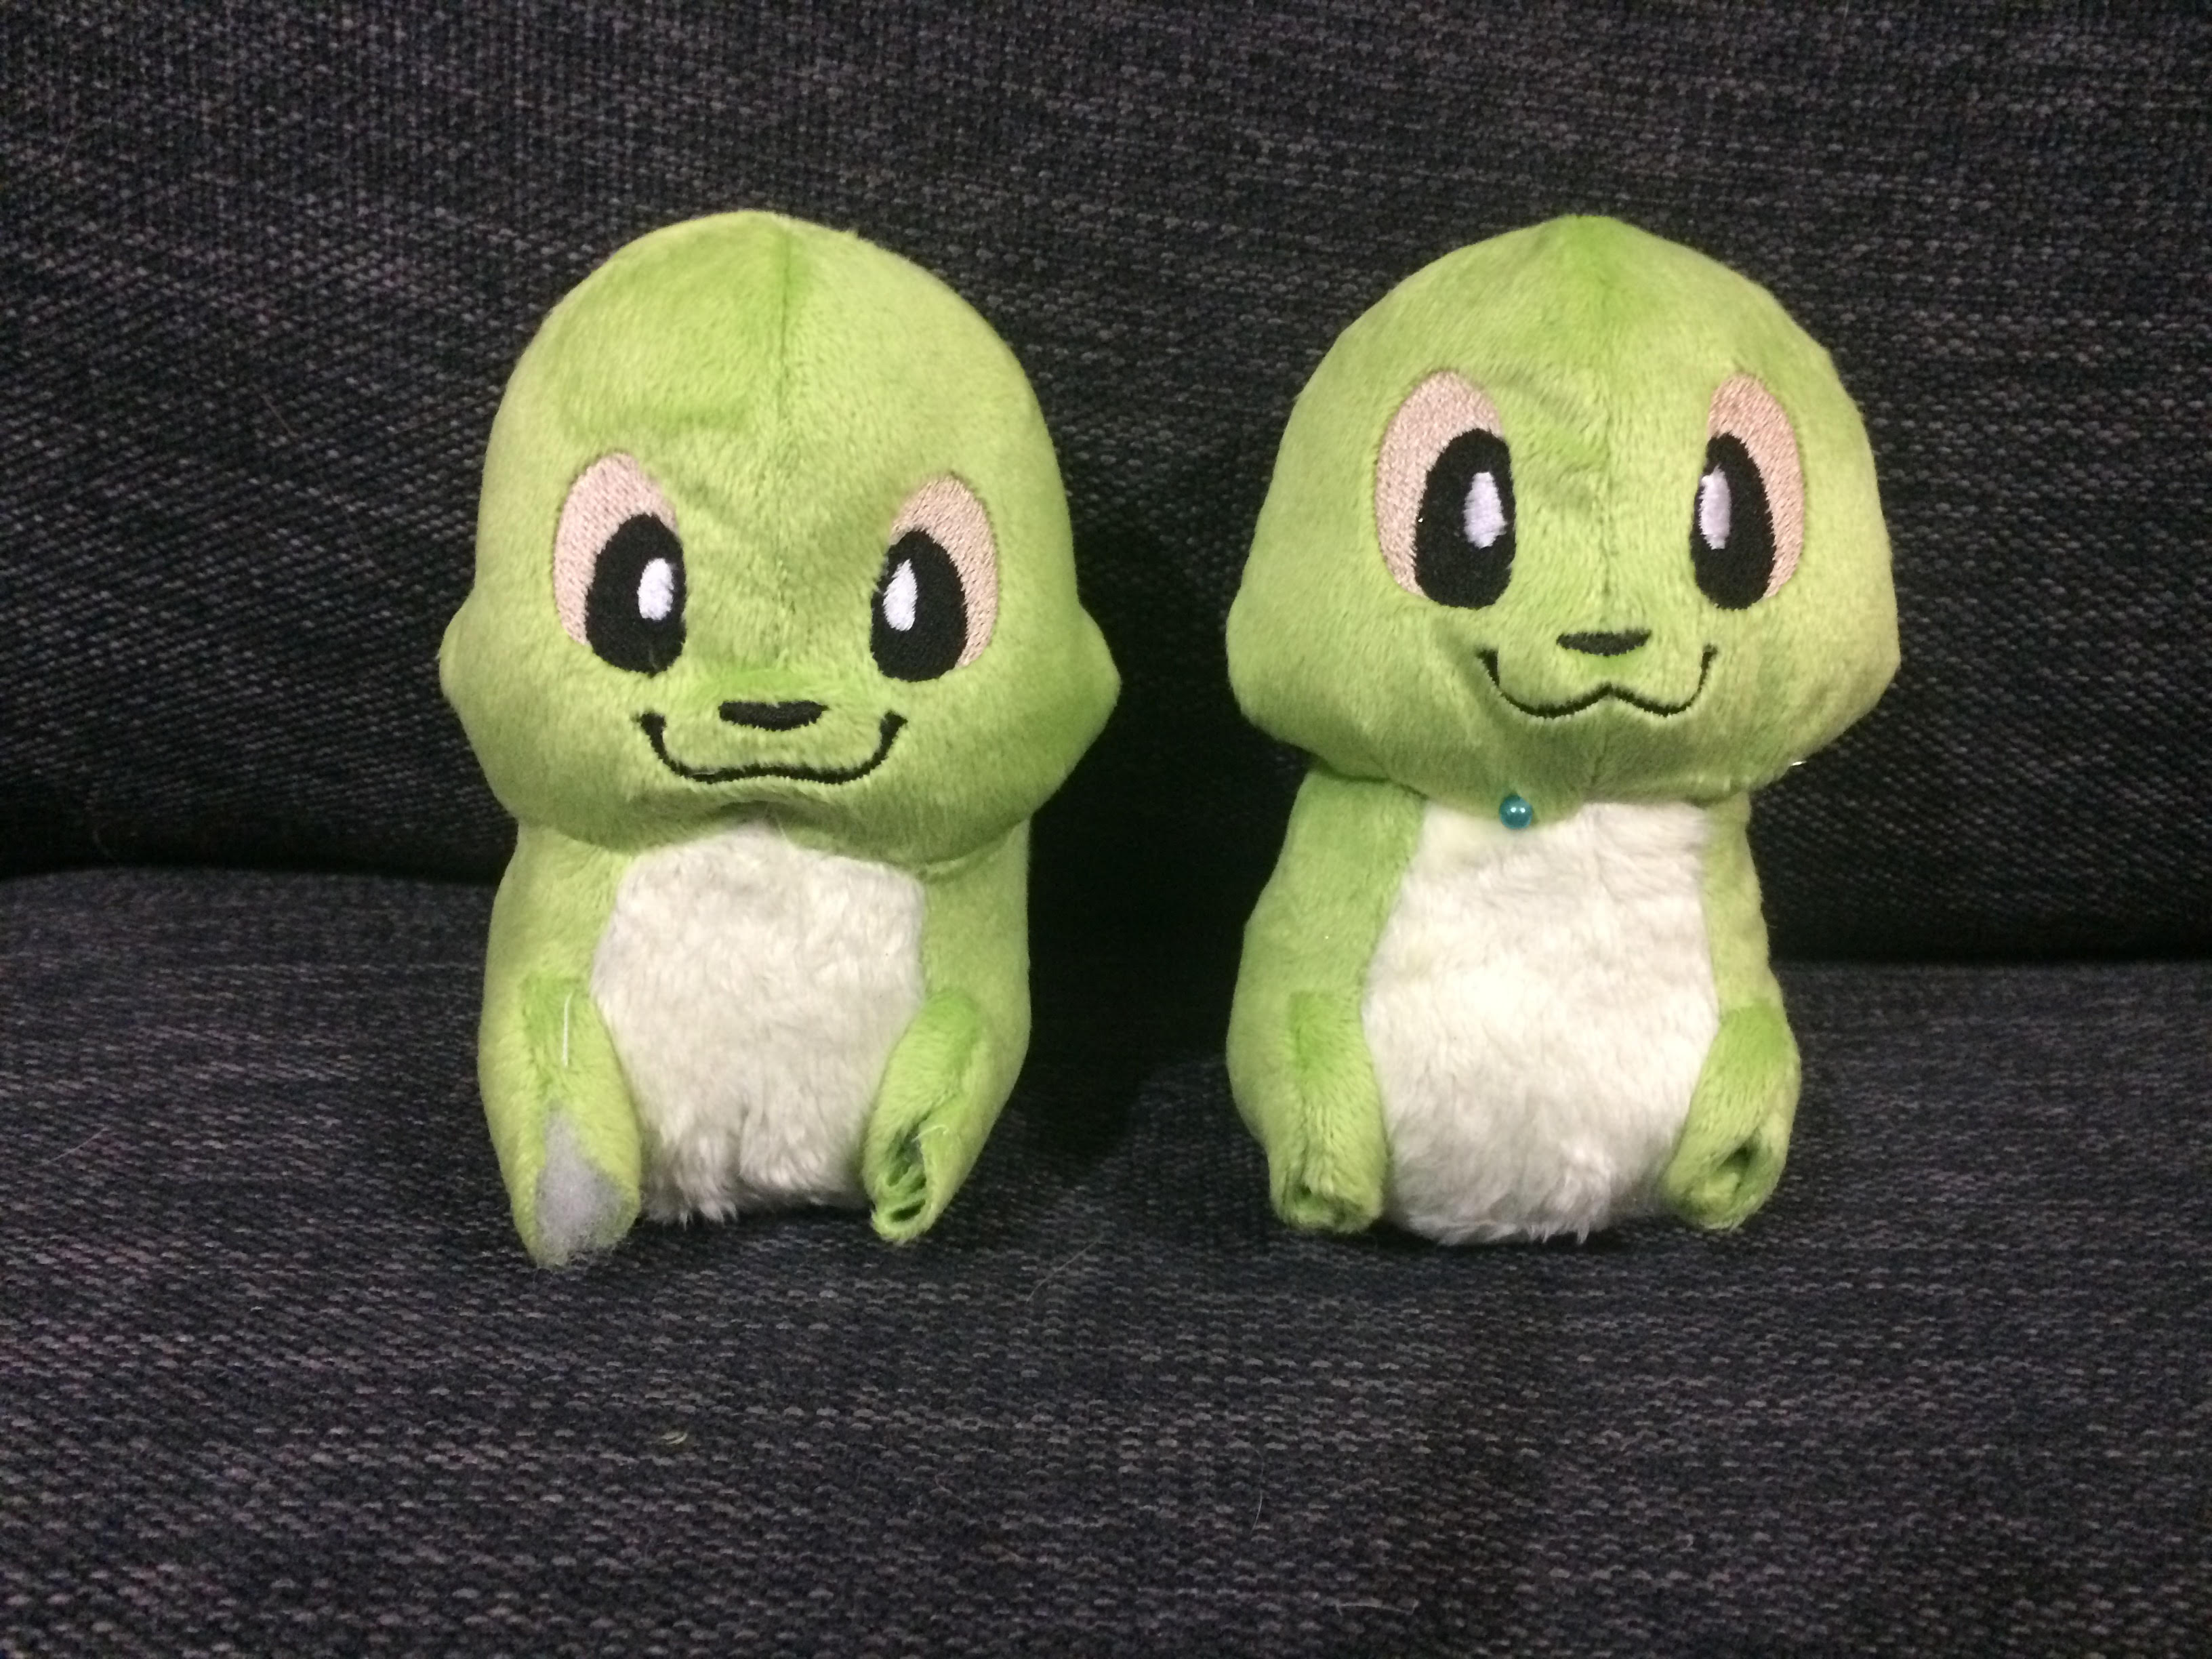
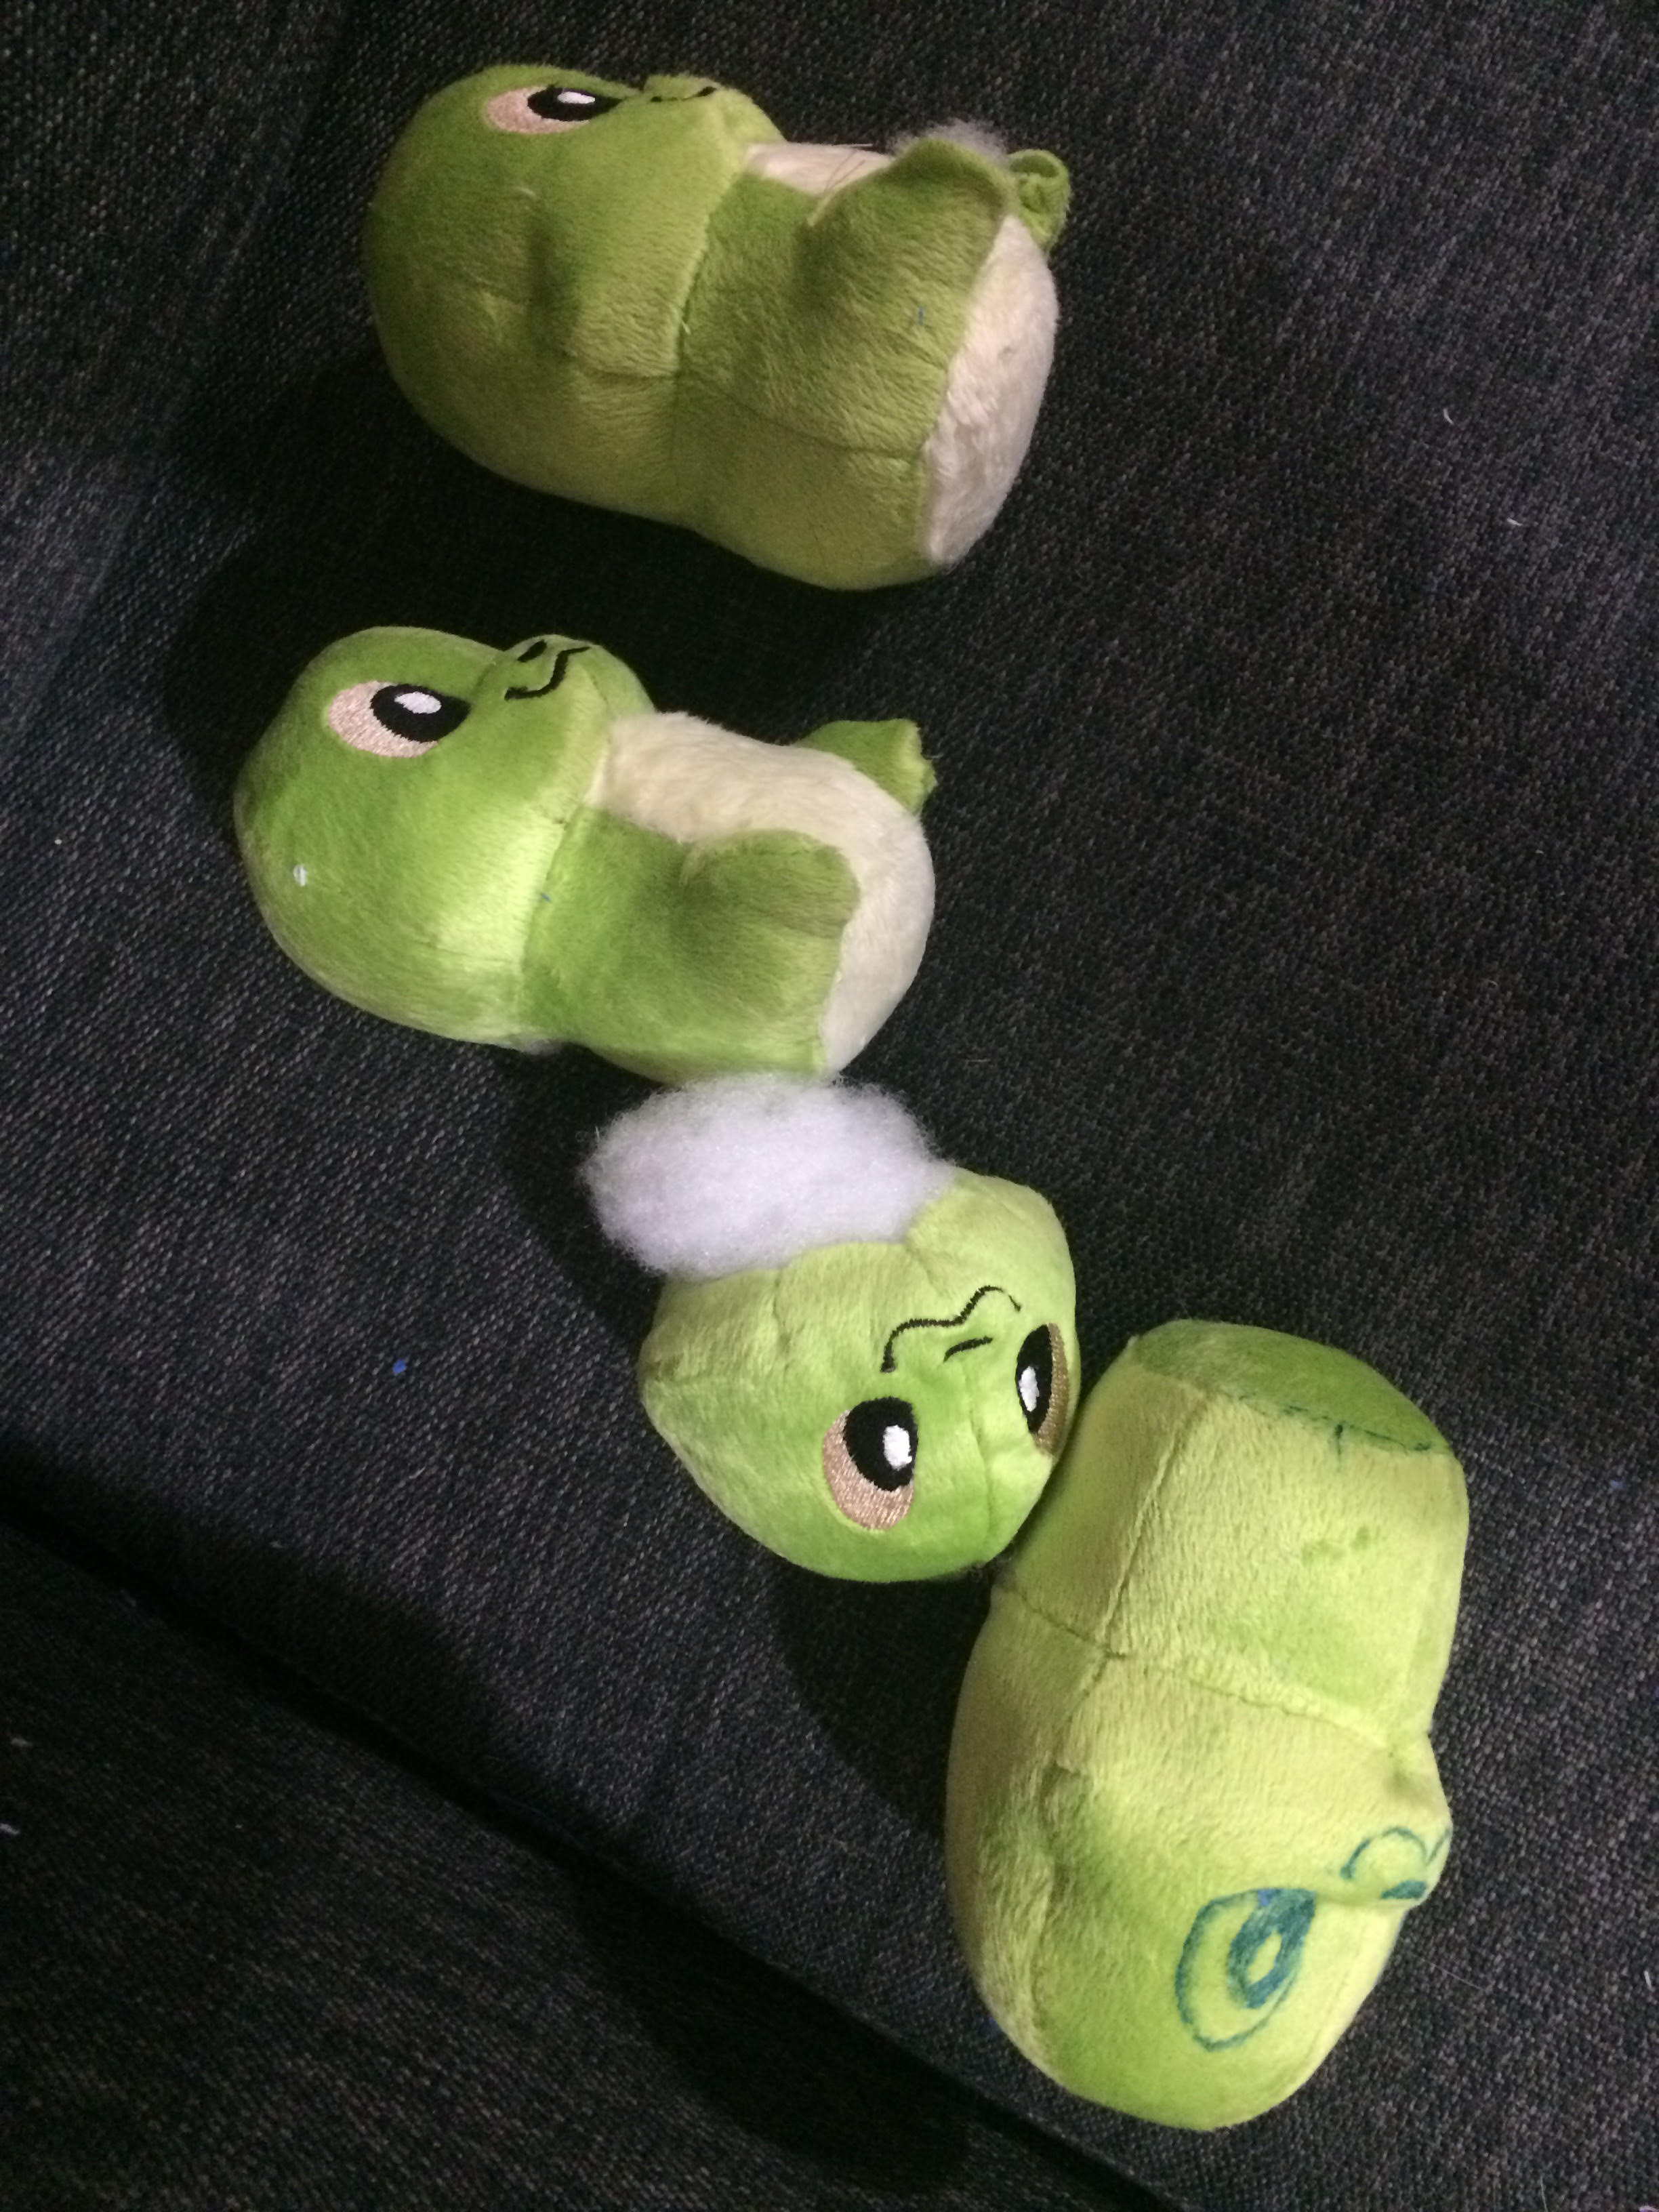
As you can see, the first test (left) had the eyes too small. Then the second test (right), had the eyes too close together. So I keep refining my embroidery and pattern, moving the eyes apart, rotating them, scaling them, etc. Third time’s the charm:
Testing the character with another design
I ran into technical difficulties (okay, I didn’t have enough armature wire) so I wanted to make a more simpler version for now (dragon will be done in the next few days). This character comes in many different forms from dragon to cat, so I decided to test out the base pattern by adding dog ears, hair, paws, and a tail.